How to make realistic 3D donuts in Blender
Serve up some deliciously detailed 3D donuts by following our simple modelling guide for beginners.

Welcome to chef Chiovaro’s kitchen! I’ll be teaching you how to create tasty donuts in Blender, sprinkles included. This is a fairly simple process and friendly to Blender beginners, and we have more training in our Blender tutorials collection if you need a boost. Also read our guides to the best 3D modelling software and best animation software for good Blender alternatives.. But for now let’s get cooking.
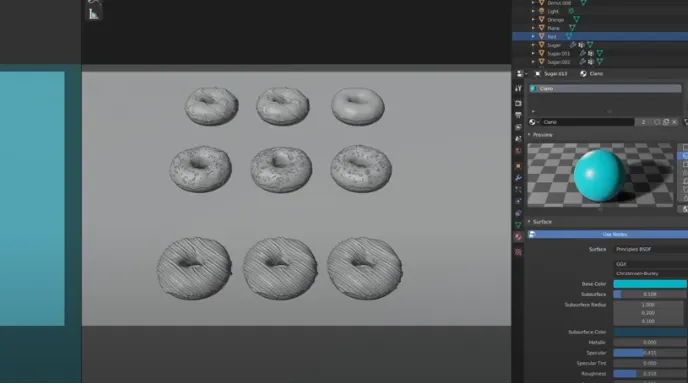
For our first task, we’ll want to remove everything from the 3D Viewport by hitting ‘A’ to select all, followed by ‘X’ to delete anything. With that done, we’ll add simple solid geometry called a torus, essentially a ring shape, for the base of the donut. As soon as you add the torus to your Viewport, a Details panel will pop up. Set the Major Segments to 60, Minor Segments to 20, and the Minor Radius to 0.50. Also set the shading to Smooth, and use a brownish material that resembles the fried dough.
...add a sweet touch of realism by sculpting the edges until they’re no longer uniform to get the melted sugar look
For the sugary glazing, all we need to do is duplicate the base of the donut, delete half of it, and place it on top of the base with the Scale increased, let’s say by 20mm. In order to give thickness to the glaze, we can apply the Solidify modifier.
Finally, add a sweet touch of realism by sculpting the edges until they’re no longer uniform to get the melted sugar look. Once again you can create a simple material without any texture. In this case I used a pink color and a Roughness value of 0.300 to make it look shiny. For further realism, you can give the fried dough better texture by adding a Noise or Cloud texture, and linking it to the Normal input of the material through a Bump node.
Time for the sprinkles on top! There are several ways to do this, but in my opinion the quickest is to add a sphere, select half of it, move it up a few millimeters, and then create and apply several materials with different colors. Add those sprinkles to the glaze easily by creating a particle system set to Hair, and then selecting the sprinkles as the emitted object. Repeat this process for all the variations of the sprinkles, and your recipe is complete.
Do you have a 3D trick or hack? Share your advice in the comments below.
Thank you for reading 5 articles this month* Join now for unlimited access
Enjoy your first month for just £1 / $1 / €1
*Read 5 free articles per month without a subscription
Join now for unlimited access
Try first month for just £1 / $1 / €1
Get the Creative Bloq Newsletter
Daily design news, reviews, how-tos and more, as picked by the editors.
Pietro is a freelance 3D artist and YouTuber with more than 10 years of experience in different fields of 3D production, from animated movies to VFX and game production. He shares many of his creations on his YouTube channel @PietroChiovaro.
You must confirm your public display name before commenting
Please logout and then login again, you will then be prompted to enter your display name.