Paint and model a breathtaking fantasy environment by using photogrammetry, kitbashing and more using this pro workflow.
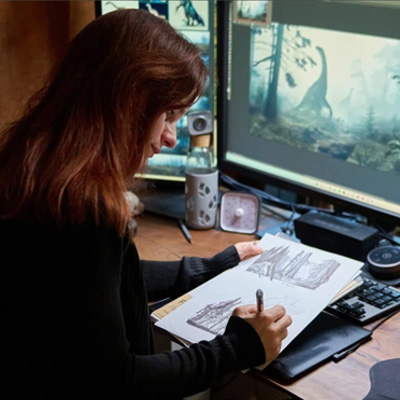
(Image credit: Gaëlle Seguillon)
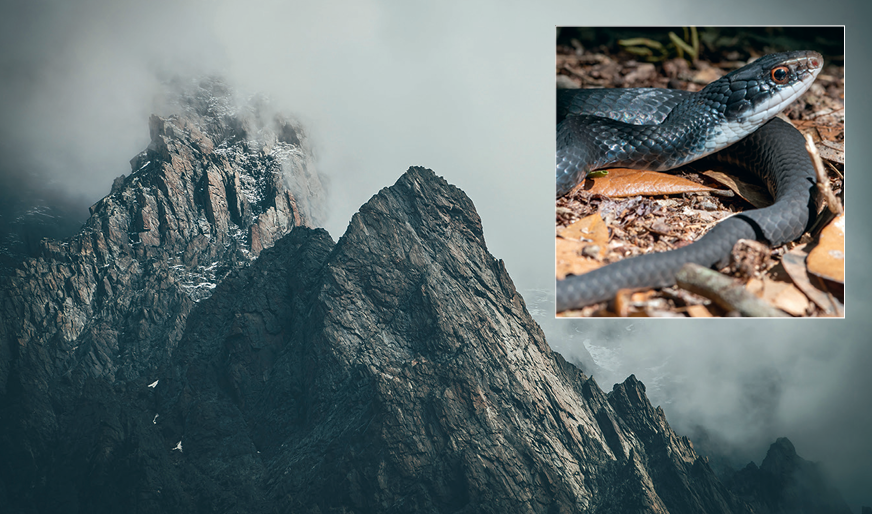
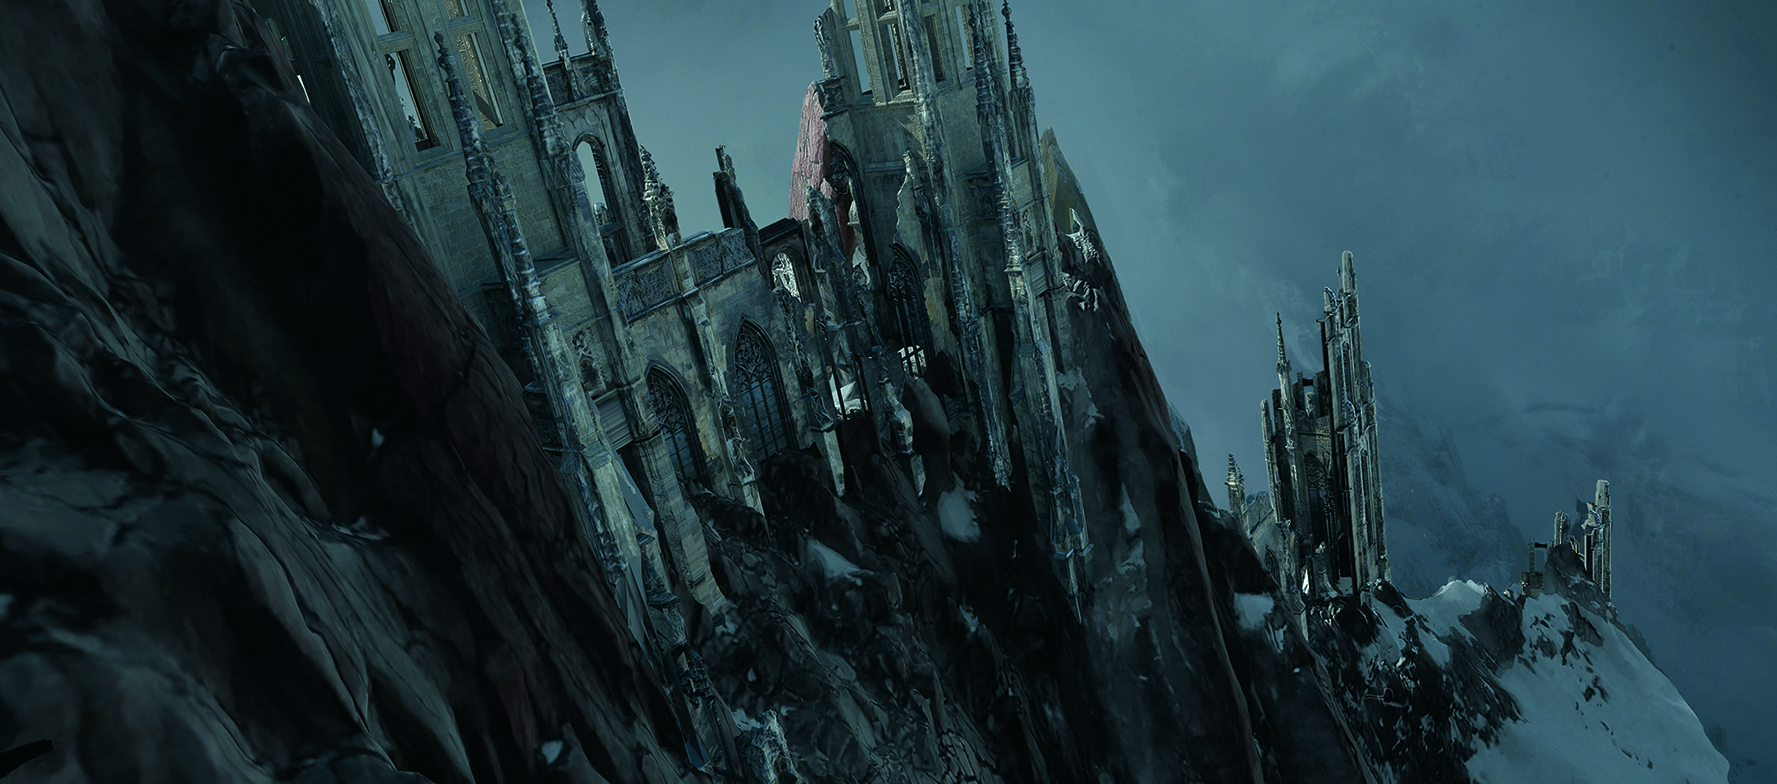
This image, entitled Storm Peaks, is one that I believe reflects my overall workflow pretty well, because it combines 2D art technique and 3D elements. In this tutorial you'll discover how I mix Photoshop, Blender and 3DCoat to create an atmospheric piece of fantasy concept art built on reality using photogrammetry.
When I start, the first step is the brief, either from a client or from myself. Here I wanted a mountain environment with dramatic lighting and Gothic ruins. While working on this piece, I wanted to pay homage to the art of legendary The Lord of the Rings artist John Howe, who captures Middle-earth so well. (Read our feature on how an artist helped put Middle Earth on the big screen for more on the amazing John Howe.)
While I admire a lot of artists, I’ve never really been inspired by any one in particular. What really inspires me is, simply, nature. I love to transcribe the beauty of nature by playing with depth of field and different lenses, especially when I shoot photos. I like to picture them in a natural-history style and think it makes the image more believable. Usually, the challenge is more technical than being about finding inspiration.
When I start on a project or with a brief, I begin with research and find things that inspire me. I’d describe my aesthetic and style as very realistic and photographic. Specifically, I like to play with depth and natural light to depict environments. I’m always trying to bring more storytelling to my images, and that’s what makes an image stand out.
Below you can find my step-by-step process for creating concept art, while I used Photoshop you can find more apps in Creative Bloq's guide to the best digital art software, and alternatives to Blender in the best 3D modelling software guide. If you like my workflow, read more in the site's list of Photoshop tutorials.
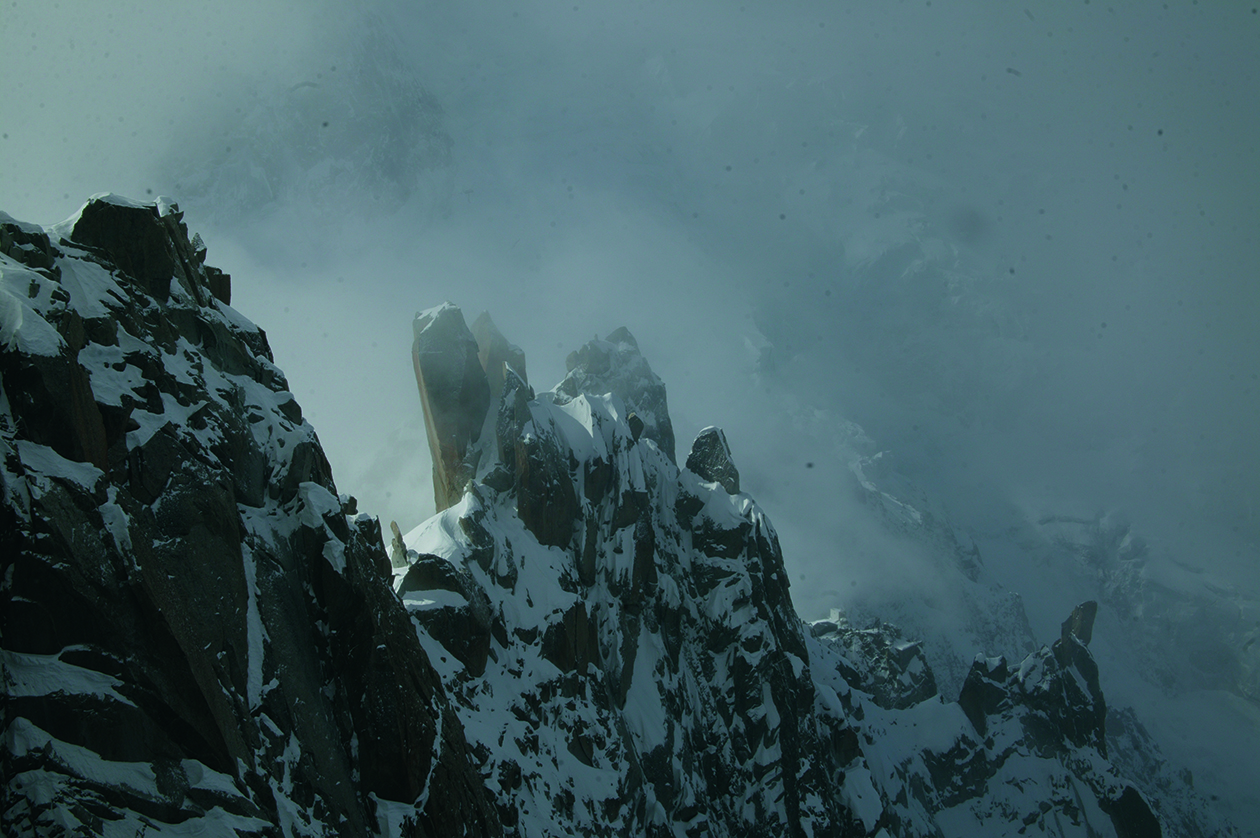
To start my scene off, I picked out a mountain photo that I particularly liked to get an idea for the lighting, angle and composition, as I thought it would give me a good head start.
Additionally, I drew inspiration from photographs of buildings, snakes and fish as starting points for the fantasy elements, which include dragons and a ruined hilltop fort; both essential motifs throughout John Howe’s artwork.
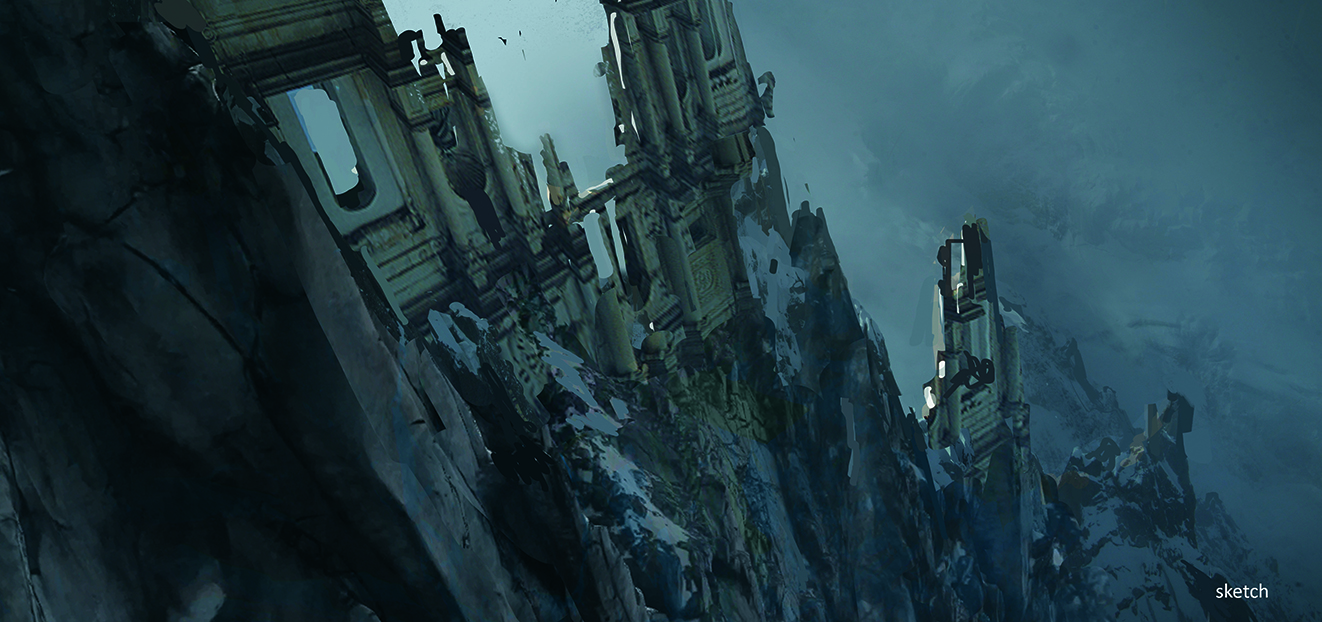
Filled with plenty of ideas for the composition and lighting inspired by my references, I moved on to making an initial sketch for the project. The first step is to import the references into Photoshop, paint over them, and sketch my idea for the piece. When I was satisfied with the composition and lighting, this became my guide for developing the rest of the process.
The tilt you can see wasn’t really intended, but rather it’s a strong perspective to give almost a feeling of vertigo. Usually when I work with a client, this is the first step that I’ll show them to make sure I’m going in the right direction. If this sketch is approved, then I start to think about how I’m going to make the final image. But even still, this sketch is something that I do quickly just to ensure that my image concept is going to work.
From the sketch, I started to consider whether I was going to do the work in 2D or 3D. I quickly understood that I was never going to do the buildings in 2D because the perspective is very strong. It’s hard to draw something with this angle, so I decided to use 3D for the ruins and 2D for the rest, and to use photobashing because I already had good photos to refer to.
To get going here, I modified the photos that I had to hand to match the initial composition sketch I’d made. I also used that as a landmark in the background of the image so I’d know where to put my ruins.
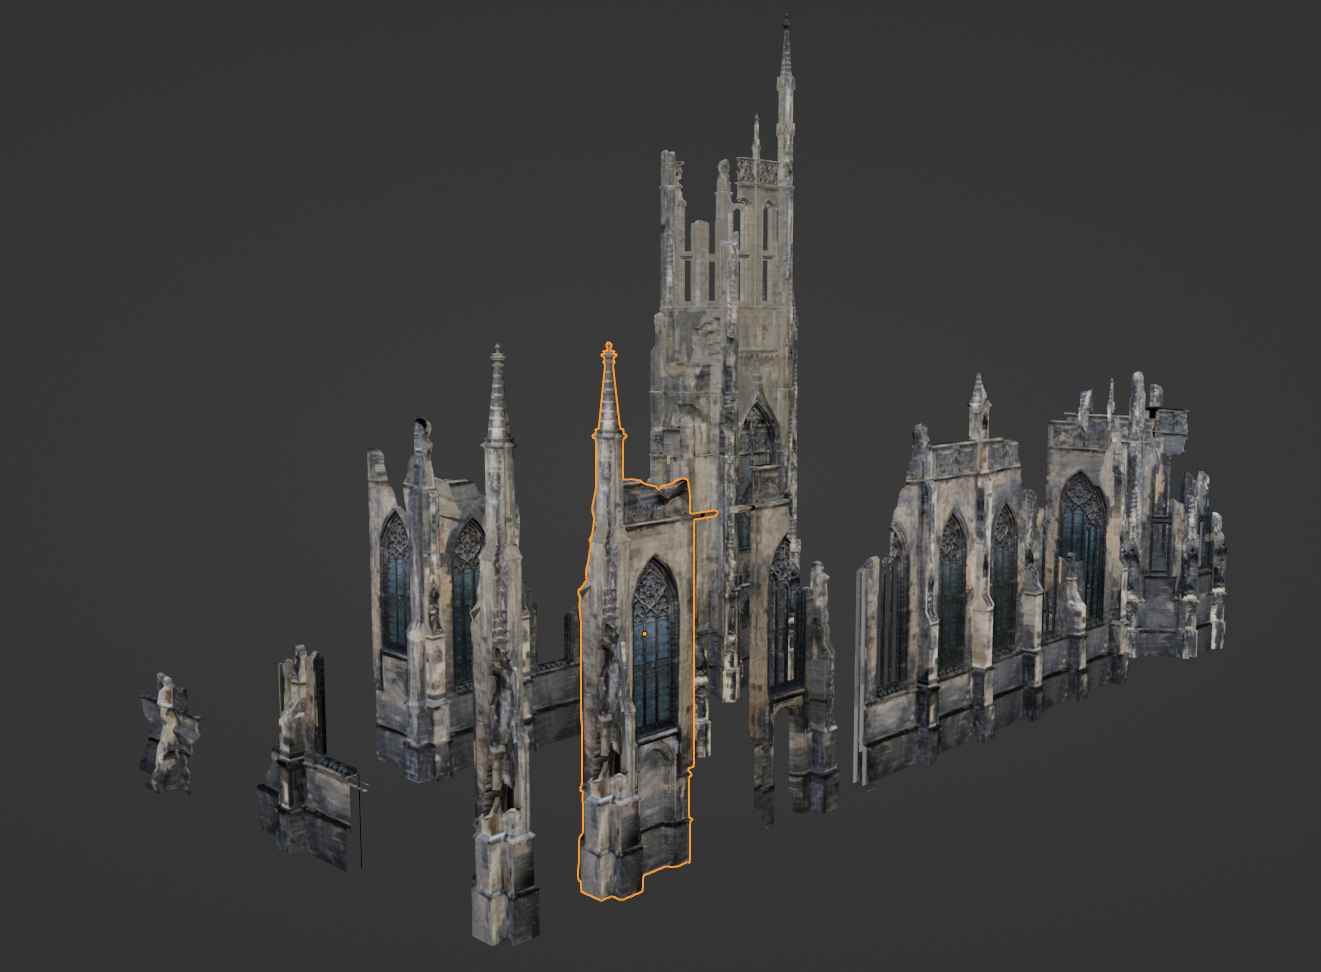
The next step was to start doing the ruins in 3D. I decided to create a set of different parts of ruins that I could use to kitbash. To do that, it was a simple geometric that I textured in 3DCoat, software that allows you to project a photo and paint it where you want.
For this, I used some of my own cathedral reference images, and painted the photo directly onto the geometry. If you look closely it’s actually quite dirty, although I wasn’t all that fussed, as painting the photos onto the geometry means that it already looks realistic.
The geometry itself is very simple as there aren’t many polygons; with this method it’s the textures that make the details.
When I’d made the ruins, the challenge was that in my 3D scenes it was difficult to figure out what camera angle would match my sketch, given that the perspective was strong. I didn’t see any flat ground, which made it challenging to figure out where to put my ruins and judge the correct focal length.
To get around this issue, I decided that I needed geometry from the mountains so I’d have somewhere to put my ruins, or else everything would be empty. It was a little difficult to visualise, but as I started from a photo of my own, I knew the locations, and created photogrammetry of the mountain, because I couldn’t go there and take lots of photos.
I went to Google Maps and took lots of screenshots from the 3D view of this specific mountain in the Alps. I fed those screenshots through some photogrammetry software, which was able to recreate the 3D geometry of the area.
When I had this geometry finished, I then needed to create a camera and place it in the correct position and perspective to match the initial sketch. With that sorted out, I could place my ruins however I needed, with the perspective working nicely.
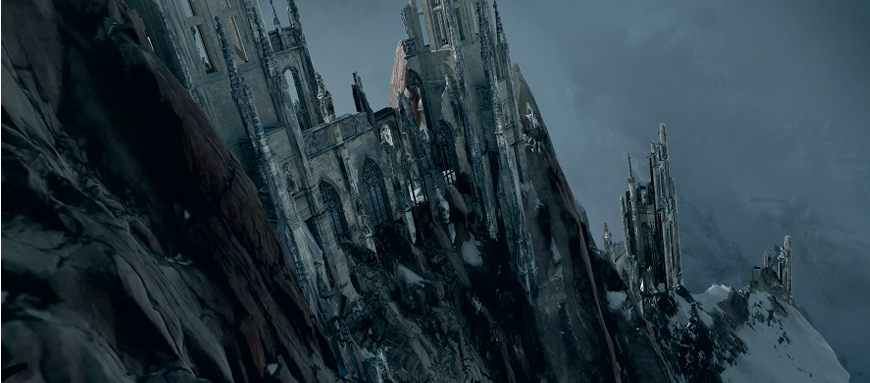
As some parts of the scene were looking a little hard to read, I tried to provide the ruins with more depth. Sometimes, especially when working with CG, it tends to look highly detailed everywhere, so my goal was to simplify the image a touch instead.
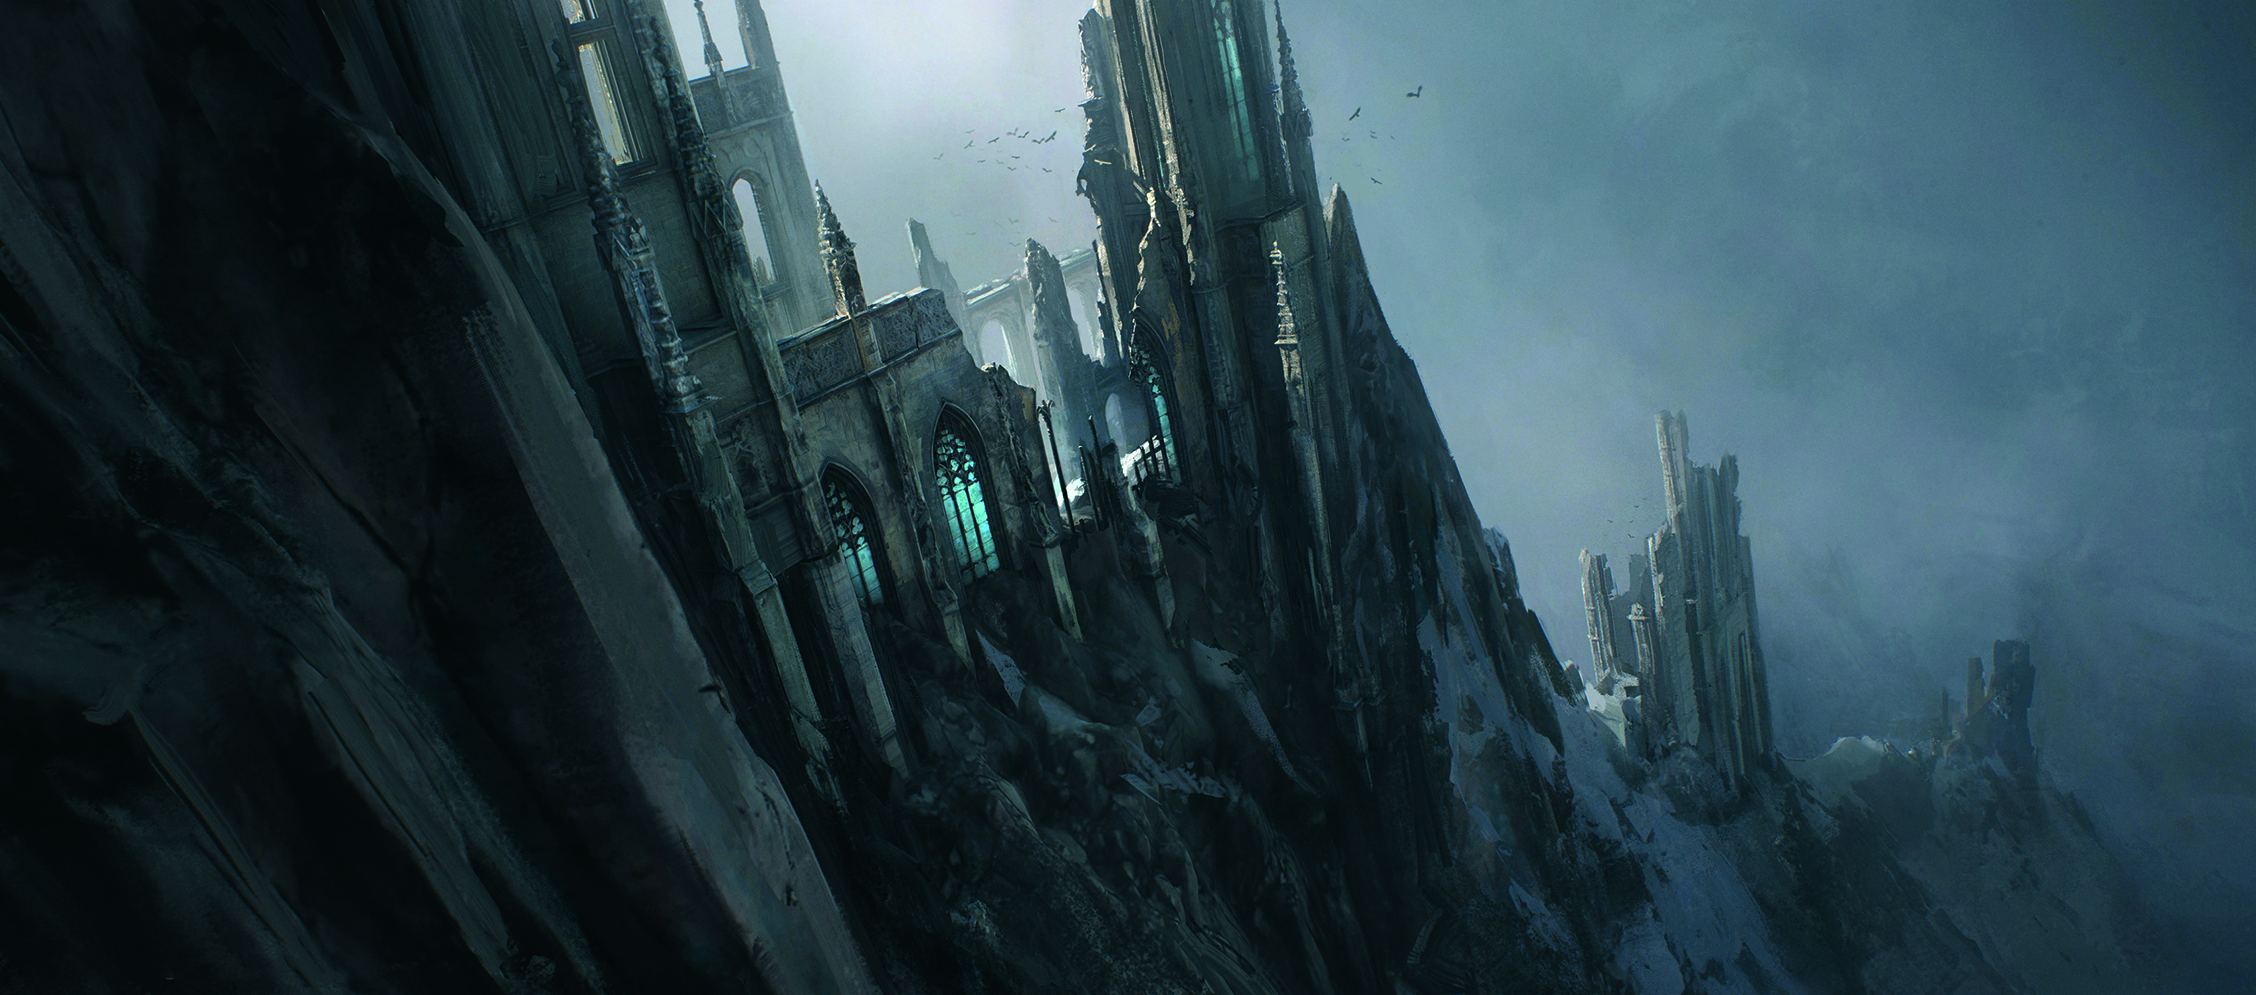
That’s why, from the CG render, I began to lose the background. I wanted my focal point to be those ruins on the left-hand side, which is why I put the light coming through the windows, as well as some mist, and more contrast and detail in this area, plus a flock of birds.
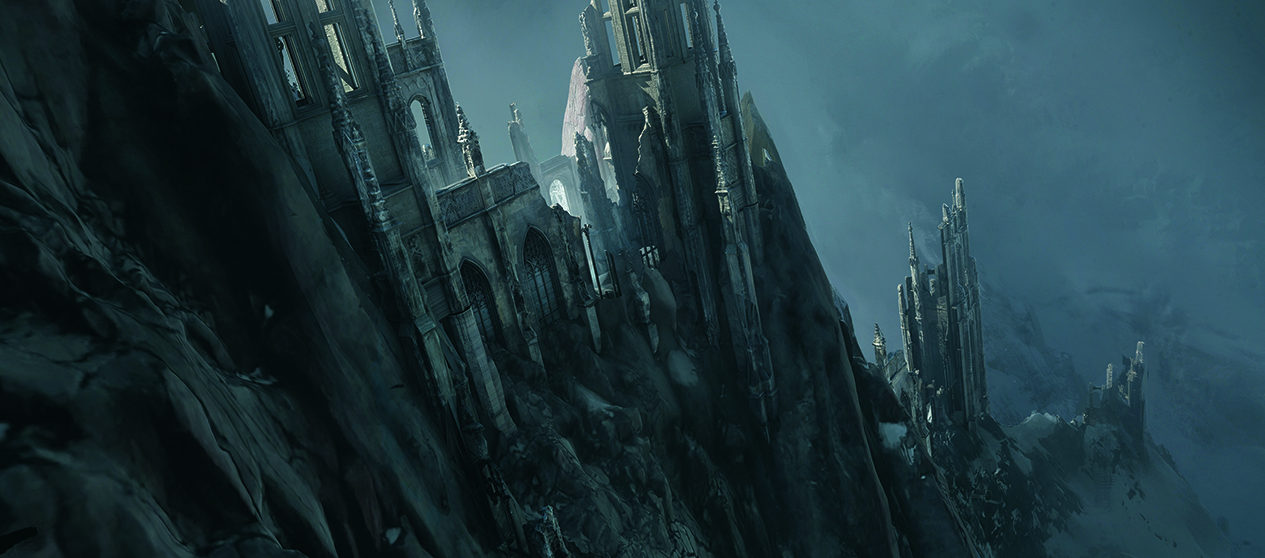
With the ruins on top, I was happy with the layout, and just had to light and render it. This is something I had in mind from the beginning, as I knew where I wanted the focal point to be. That’s why creating the initial sketch is so important, as that’s when I decided the general composition of the image.
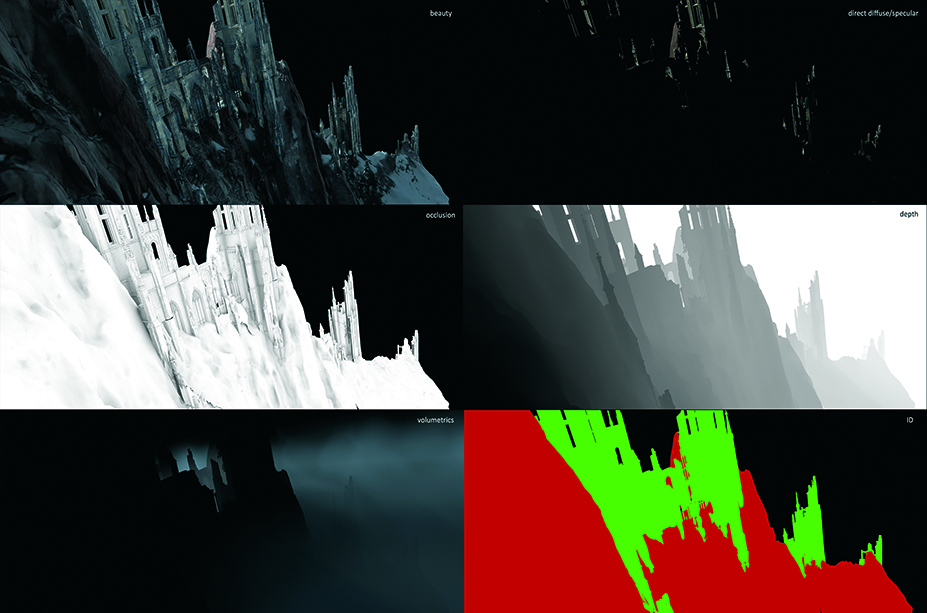
The orientation of the ruins on the right is designed to bring the attention back to the main ruins. I like to render the occlusion when I need to see more details in the geometry, and also like to use a direct diffuser when I need to increase the highlights.
I usually use the depth to add more haze to an image, or to grade the background differently to the foreground to create more atmosphere and depth within the scene. Here, the different grading helps to distinguish between the ruins and rocks.
Inspired by Gaëlle Seguillon's work? See more like this in our list of the best 3D art and best digital art.
Get the Creative Bloq Newsletter
Daily design news, reviews, how-tos and more, as picked by the editors.
Thank you for reading 5 articles this month* Join now for unlimited access
Gaëlle is a senior concept artist currently at Epic Games who specialises in the creation of digital environments, creatures and key art using CGI, photobashing and digital painting. She has worked on Star Wars ECLIPSE, Ready Player One and Jurassic World: Fallen Kingdom.
You must confirm your public display name before commenting
Please logout and then login again, you will then be prompted to enter your display name.