Defining the experimental look of Second Tomorrow Studio's Unreal Engine-powered animated short film.
(Image credit: Second Tomorrow Studios)
Creating the visual style of Babiru was a journey filled with experimentation, problem-solving, and a lot of collaboration. From the gritty textures to the cinematic glow, every shot went through a pipeline that combined Unreal Engine, DaVinci Resolve Studio and Fusion.
This tutorial breaks down how we approached one of the film’s key shots, step by step. What’s cool about this process is how much it mirrors the collaborative energy of working on a physical set – just with digital tools. Along the way, we discovered practical ways to add texture, lighting, and those little imperfections that make a scene feel alive.
If you’re curious about the tools or techniques we used, or you just want to see how a project like Babiru comes together, this breakdown will walk you through it all. For more, visit the Second Tomorrow Studios website.
The project was first built in Unreal Engine by Xavier Albert and the teams at Mathematic Studios and Ronin 161. They used a combination of custom designed assets as well as premade assets from Kitbash3D, which helped save a lot of time.
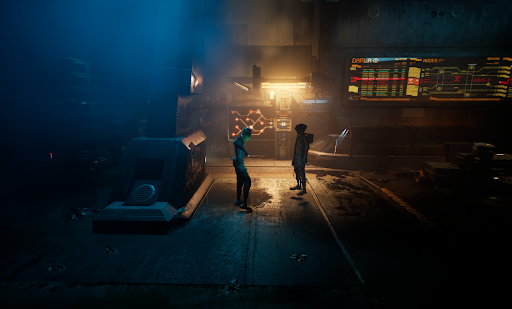
We then added textures and lighting into the scene prior to framing the shots. Above is a before and after of a scene, showing how it looked before we'd aded textures and lighting prior to framing the shots.
The director worked remotely with Dane Armour, a virtual camera operator based in London, to explore camera angles and craft shots that would be dynamic and interesting to see.
Once the shot was composed with the action, we would then tweak the rest of the scene with lighting and further details to enhance the visuals, very much like working on a physical set.
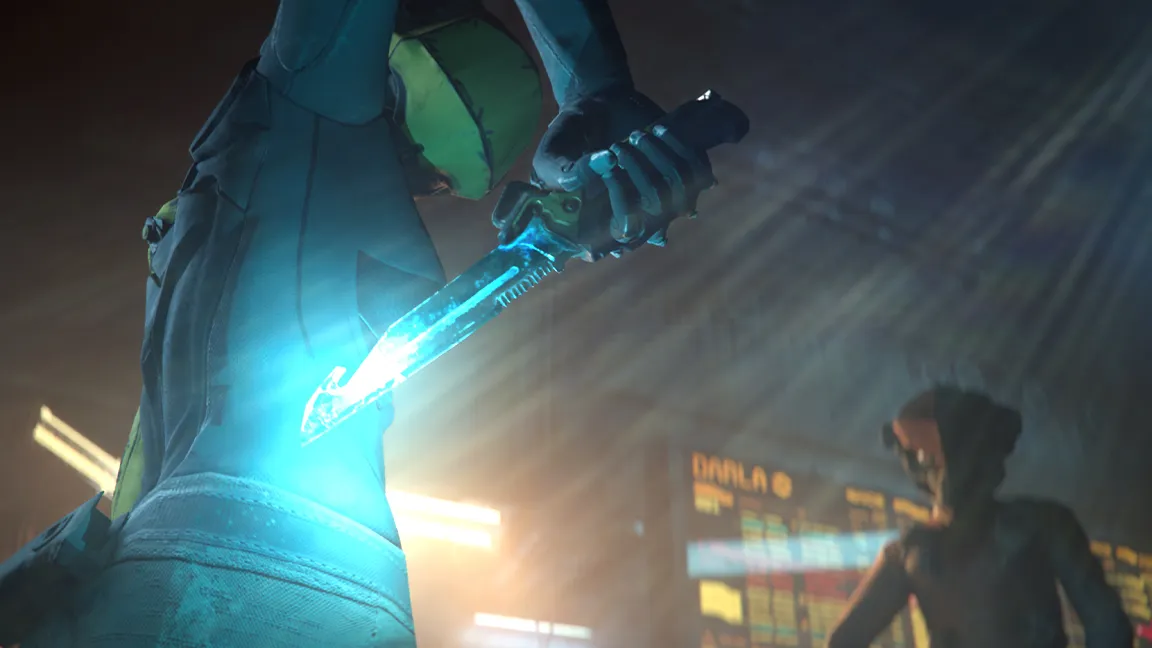
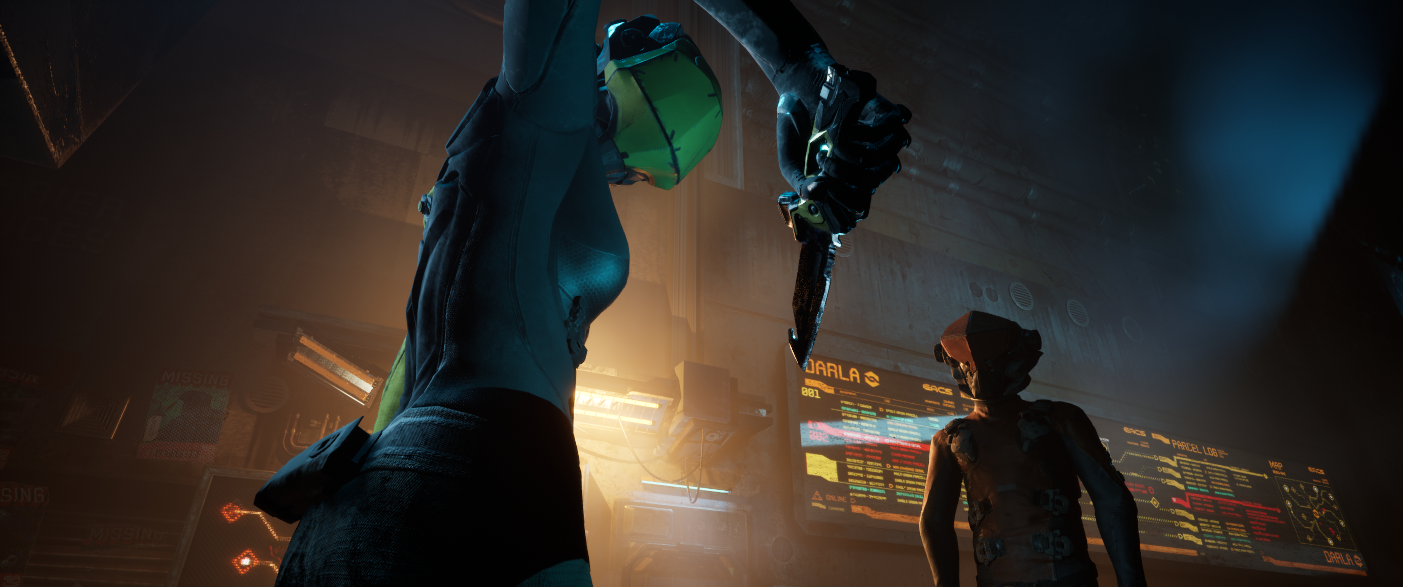
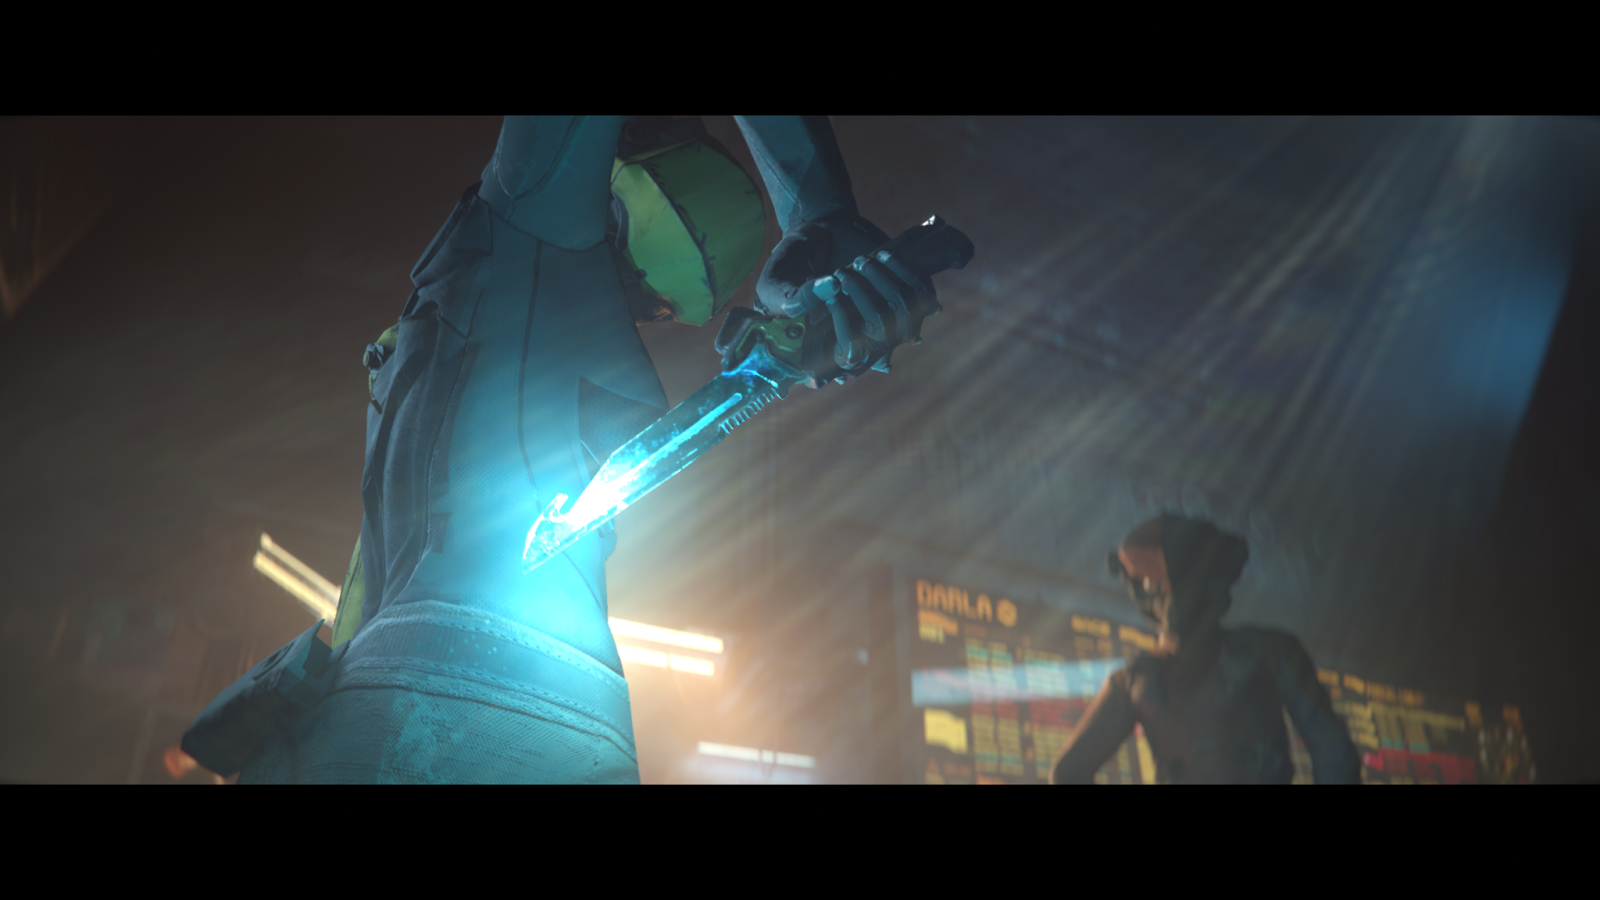
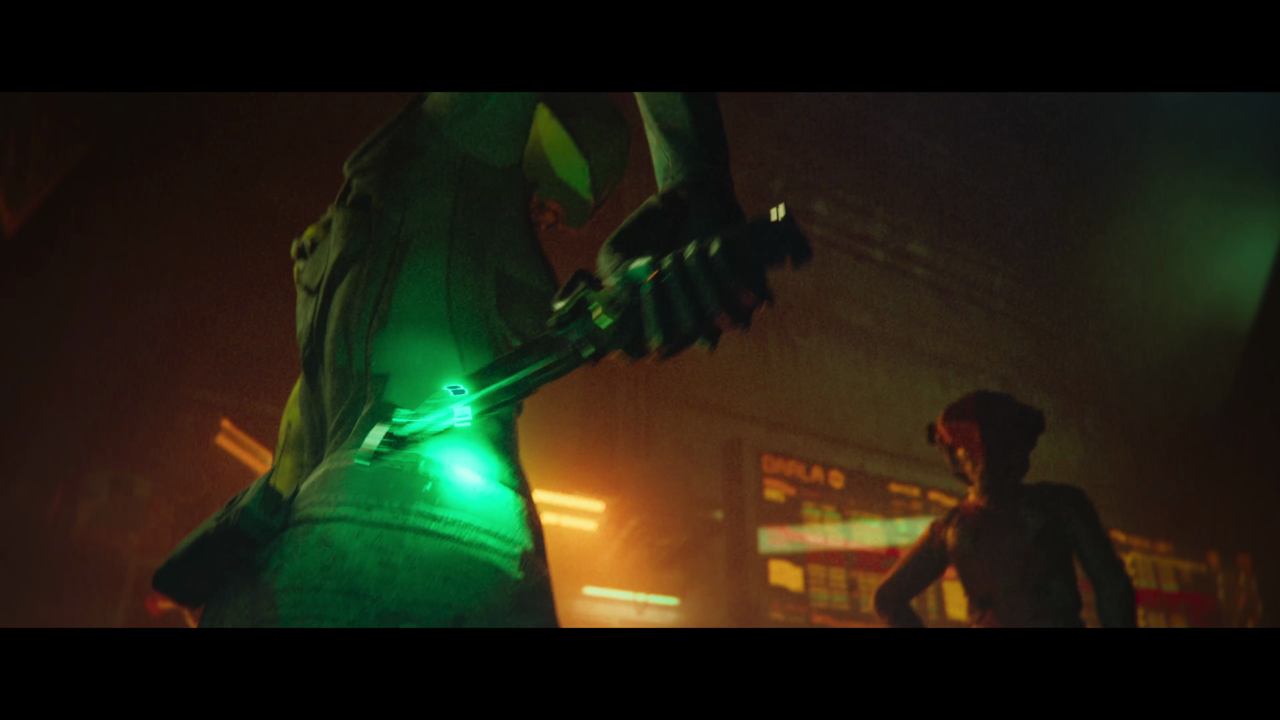
I then took the existing virtual cameras that were created, revised them to create the final shots that we then exported to EXR files from Unreal Engine. Above you can see the shot in its final frame and then with revised lighting.
For the export, using the Movie Render Queue, we used the following settings. We set the export to Multilayer EXR image sequence using the default settings. Then in the Deferred Rendering settings we made sure to Disable Multisample effects and enable Use 32bit Post Process Materials.
Make sure to also to enable both the default materials provided, WorldDepth and Motion Vectors. Additionally, we added Object Ids (limited) in the Movie Render Queue export settings dropdown. We also added the Game Override to ensure the highest LOD settings and to disable texture streaming.
For Anti-Aliasing, we set the AntiAliasing method to None and we found setting Spatial Sample Count to 2 and Temporal Sample Count to 8 was sufficient for our needs. Increased the Render Warm Up Count and Engine Warm UP Count to 64 to ensure any particles or in-engine effects render correctly. Finally, we exported at 4k (3840 x 2160). Above you can see our render passes: WorldDepth, MotionVector and Limited ID.
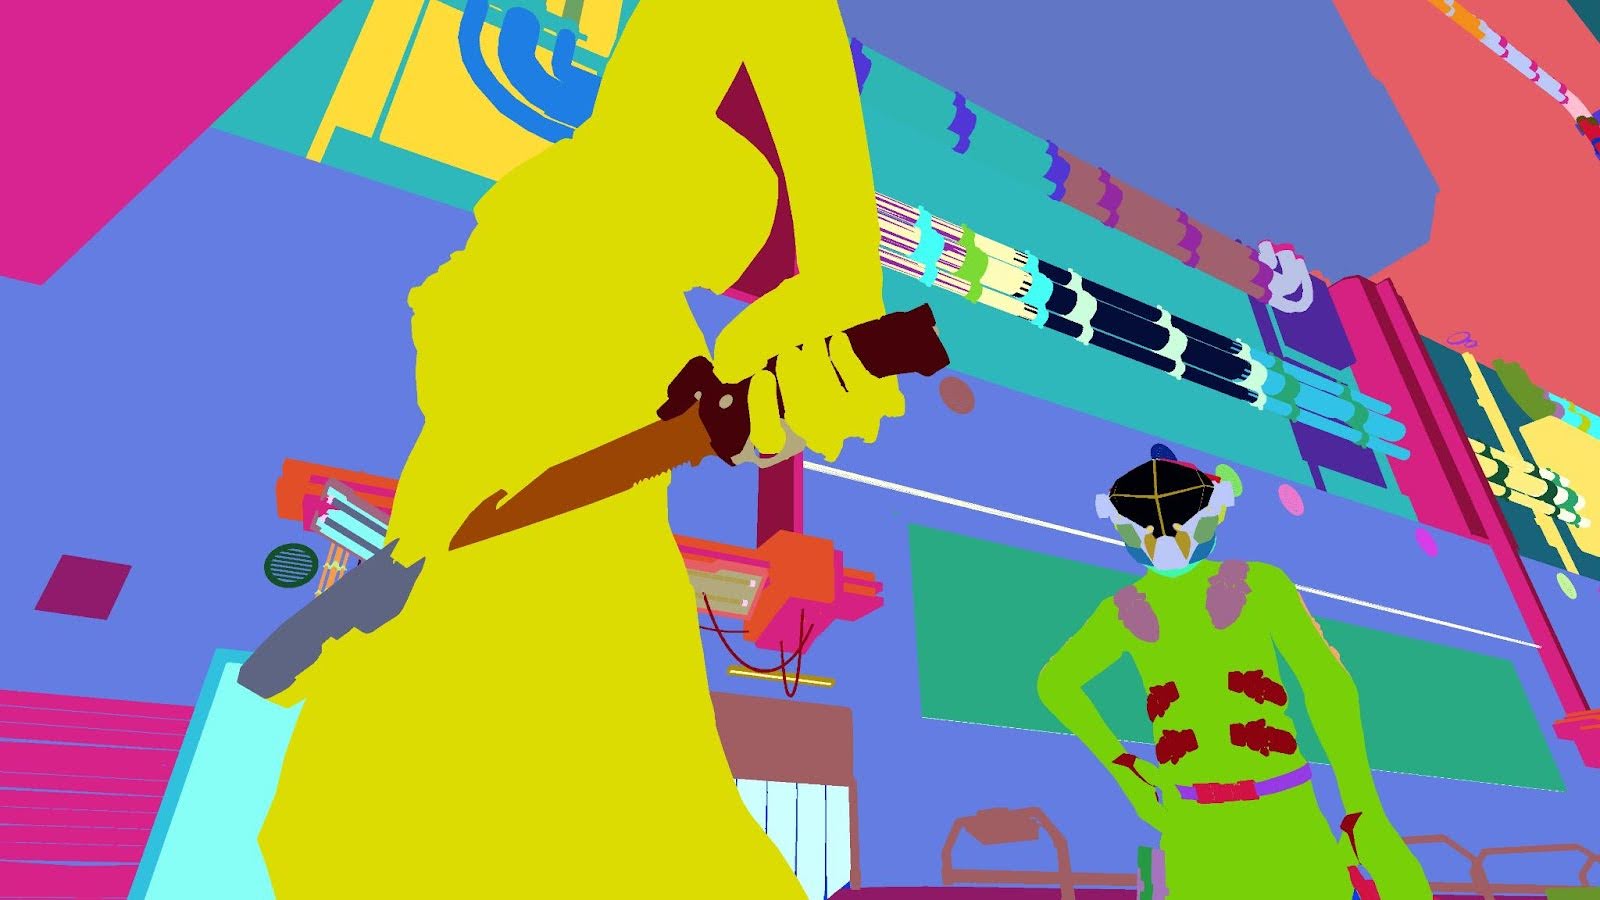
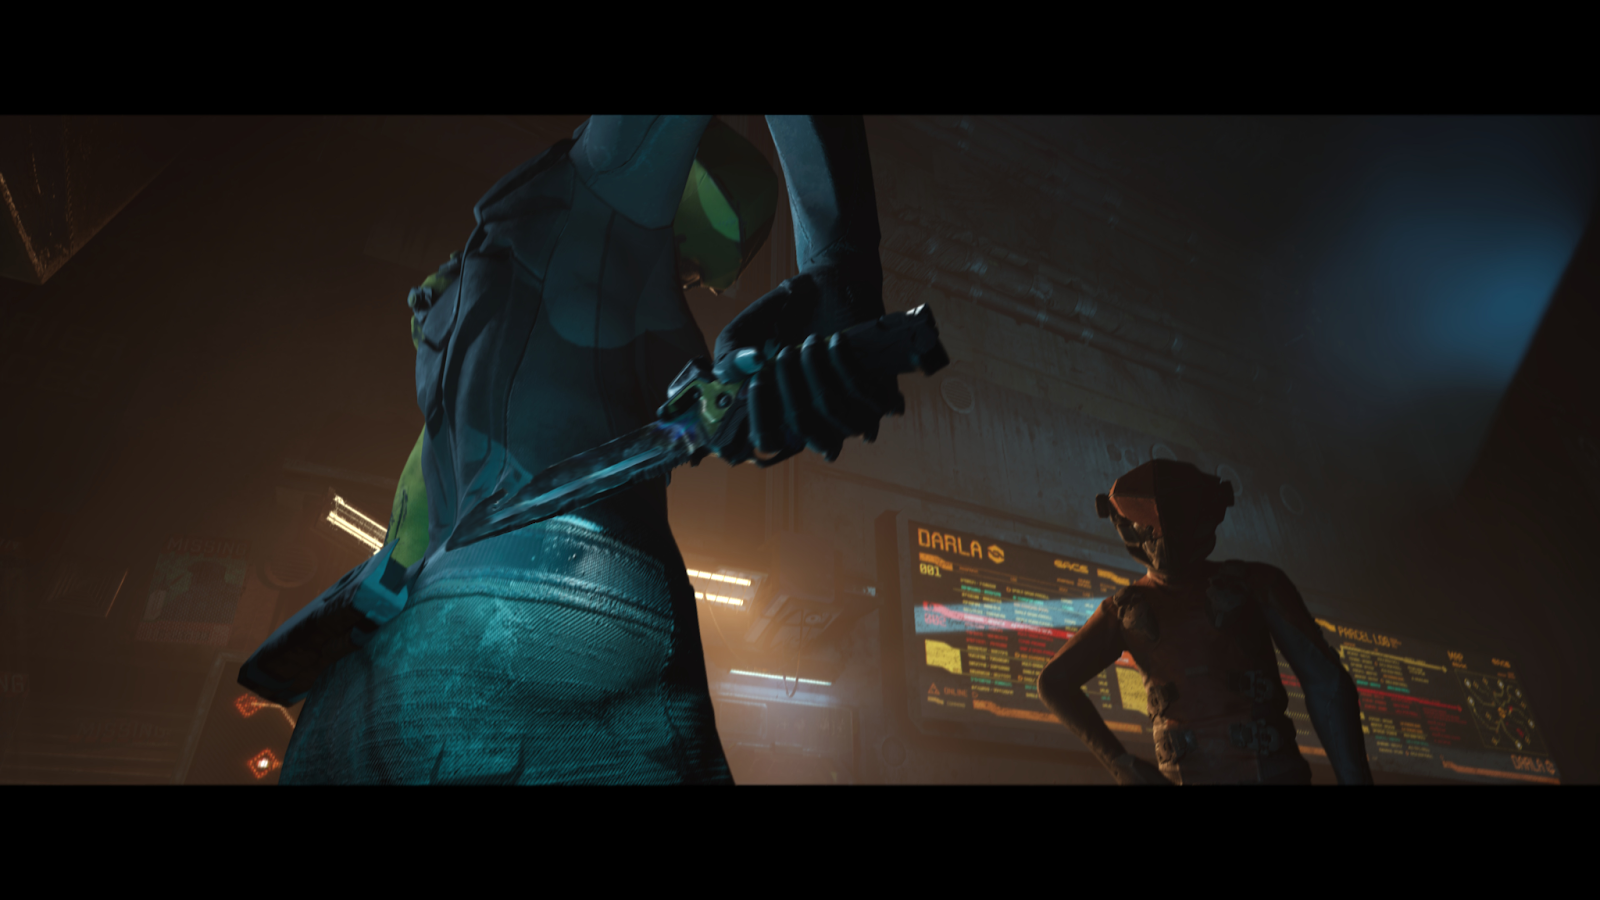
Importing the image sequence to DaVinci Resolve [Studio] we need to correct for the Linear image provided by Unreal. Initially, the image is too dark to be workable - this is normal since the image is Linear.
To correct for this there are several methods. One option is to simply apply a LUT to the image. Thankfully Resolve provides a handy option. LUT - VFX IO - Linear to sRGB (or Linear to any preferred gamma setting). This will allow you to see the image, closer to what was shown in Unreal and useful for general editing. That said, this method is not ideal when working with MultiLayer EXRs. Since it applies the LUT to the additional passes as well.
In our case, I knew this shot would be reworked in Fusion so I did not apply a LUT to the entire shot but instead applied a Color Space Transform node in Fusion to the main image and extracted the passes in separate nodes that did not go through the Color Space Transform, preserving the correct information in the passes.
5. Using Fusion Studio
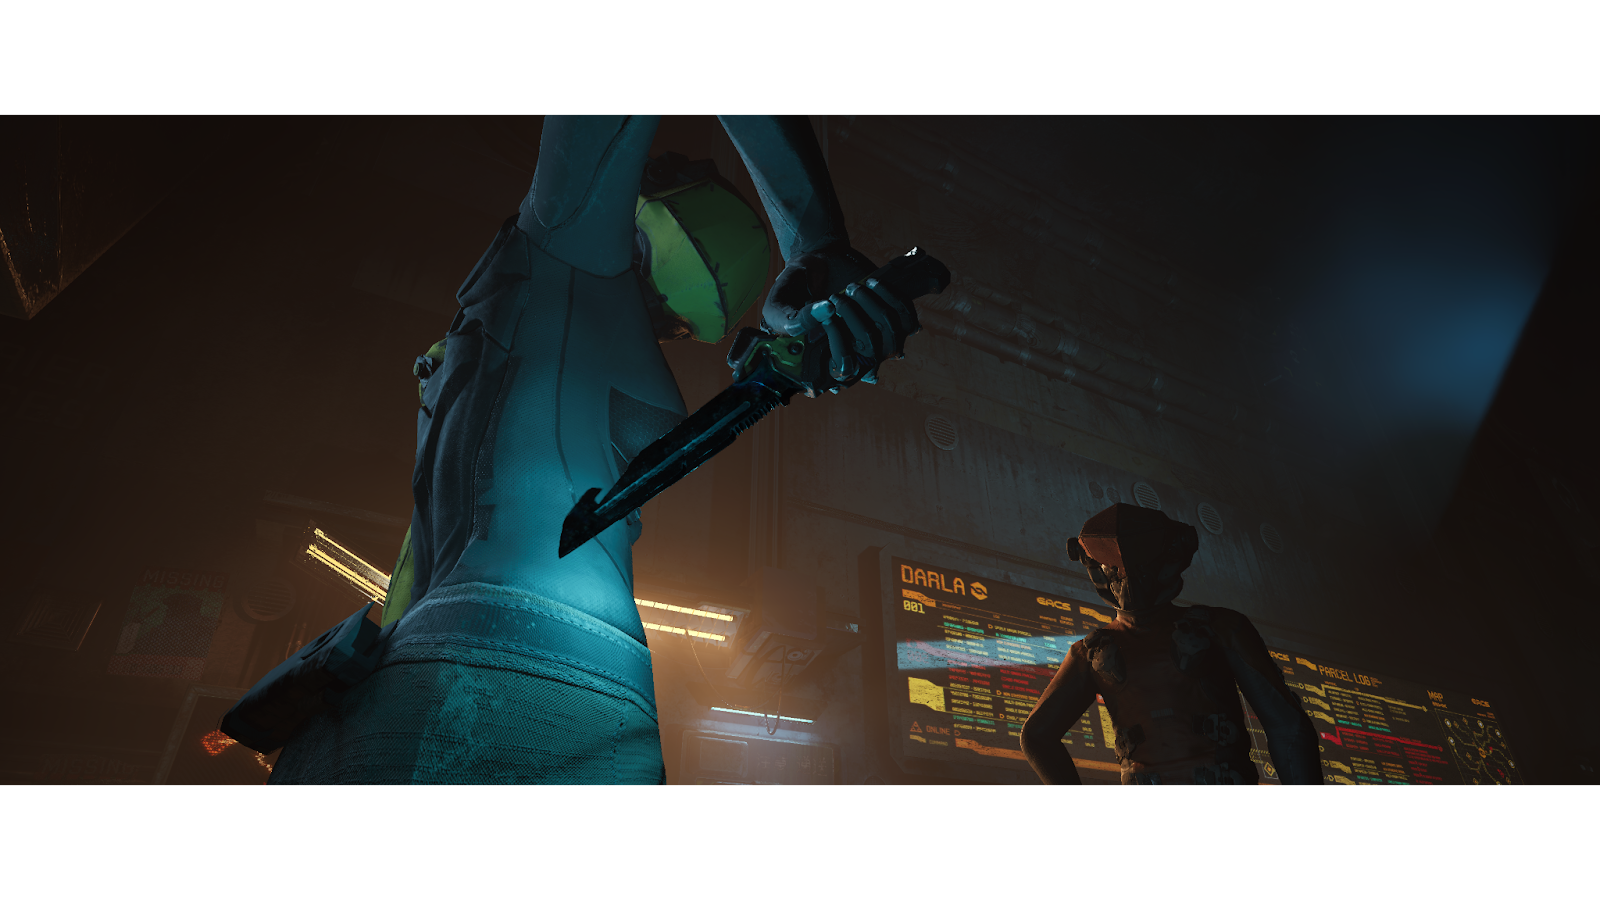
After extracting the passes (World Depth, MotionVectors, and Limited ID) in separate nodes, we began applying a few effects. The goal was to apply motion blur, depth of field, and a blade glow effect.
Using the MotionVector pass we add motion blur using the VectorMotionBlur node. You’ll need to adjust/shift the VectorMotion red and green channels -0.5 since Unreal Motion Vectors are stored in the 0-1 coordinate space for X and Y, where 0.5, 0.5 is no motion.
We want to make no motion be 0 instead of 0.5. You can do this by shifting the red and green values down by merging a background node with the red and green channels set to -0.5 and ADDING it with a merge node (alpha gain = 0). This will allow the VectorMotionBlur node to read the blur correctly.
We then added depth of field blur using the Tilt-Shift Blur node. Use the WorldDepth in the From Second Input. You may need to shift/clamp the depth map to help reach the information correctly.
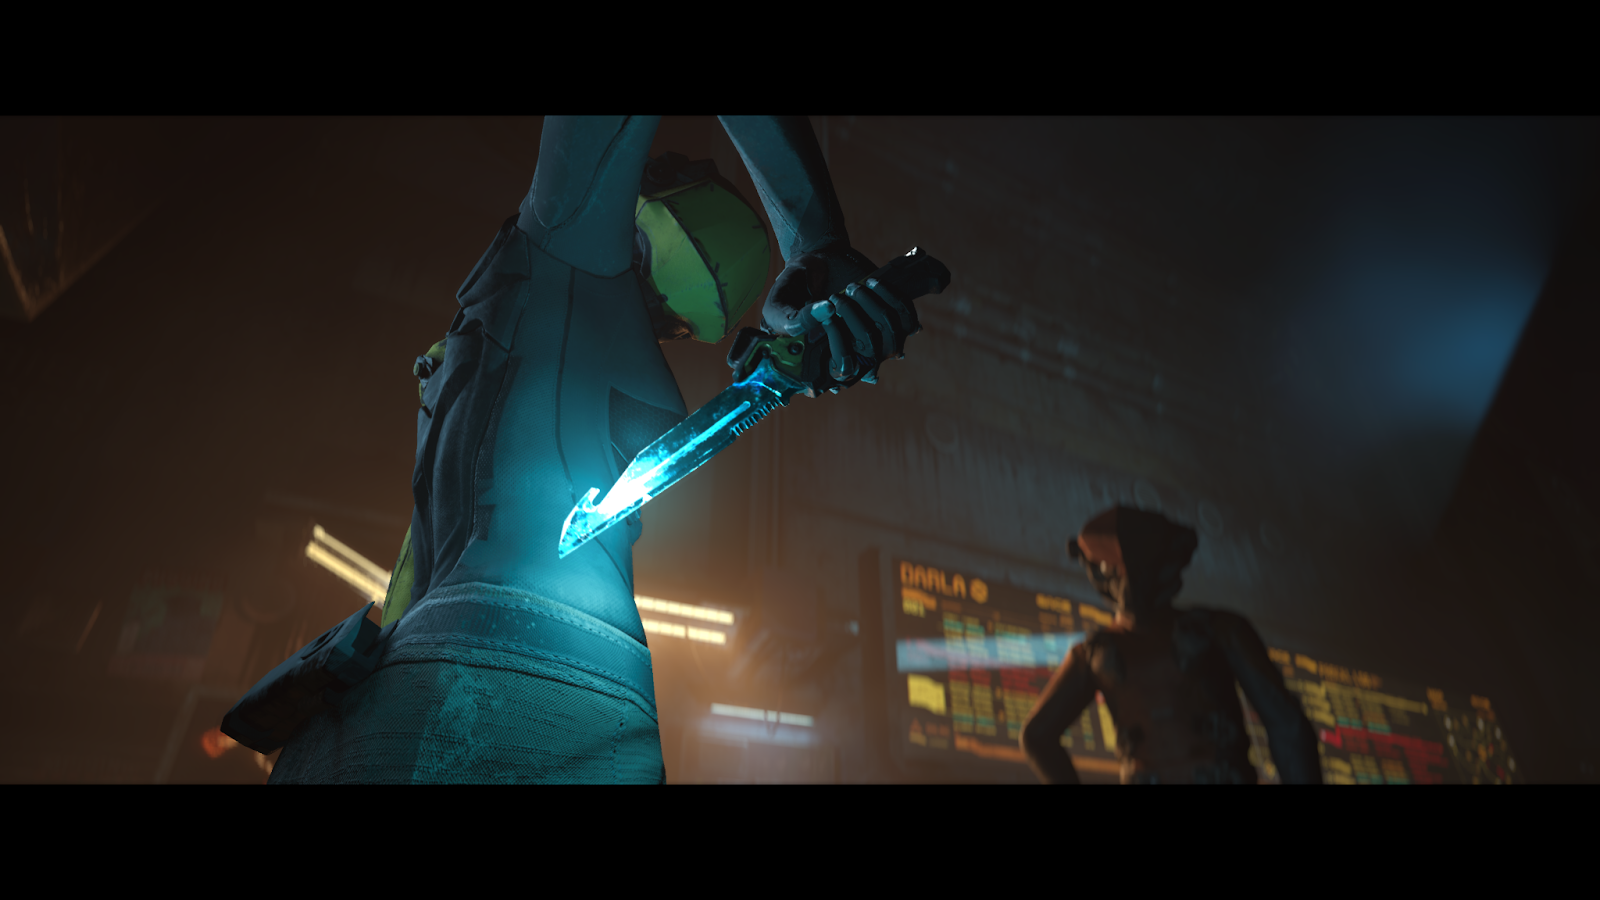
For an added blade effect, using the Cryptomatte plugin (via Reactor Script - free to download), we added additional glows or lighting effects to accent the knife.
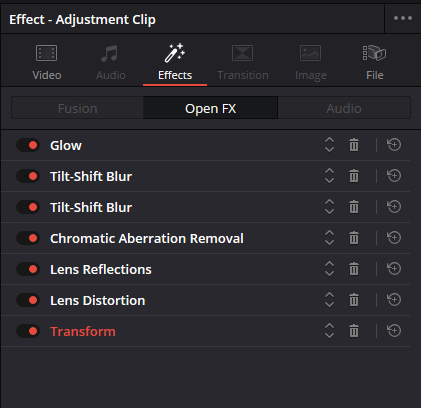
Back in the DaVinci Resolve timeline we added a “cocktail” of effects that were applied to every shot in the film. These included a few simple but effective lens artifacts and details.
Our Timeline FX cocktail looked like this:
Glow: Simple glow - adjusting the threshold as needed. This helped soften the image.
Tilt-Shift Blur: Added to the top, bottom, and sides. Two stacks were needed.
Chromatic Aberration Removal: Ironically, this was used to add chromatic aberration.
Lens Reflections: This helps add a bit of lens flaring and glare.
We used practically shot flares from the Kowa Anamorphic lenses that were done in pre-production, and were added on top of the image using a simple Screen mode. This helps add a realistic lens artifacts to the image and accent the glow of the blade. The footage was shot by the production team.
Then the shot was incorporated in an online project that was sent to the senior colourist at CineGround, Marc Boucrot. He performed a final colour pass on it, sometimes tweaking, removing or adding effects, film grain, etc. to give it a more realistic and grounded look for the project.
Get the Creative Bloq Newsletter
Daily design news, reviews, how-tos and more, as picked by the editors.
Thank you for reading 5 articles this month* Join now for unlimited access
Santiago Menghini is an award-winning filmmaker, producer, and visual effects artist based in Montreal, Canada. He is best known for his films No One Gets Out Alive (2021), Regret (2020), Milk (2018), and Voyagers (2015).
You must confirm your public display name before commenting
Please logout and then login again, you will then be prompted to enter your display name.