13 expert tips for modelling 3D spaceships and space scenes
Digital artist Rory McLeish gives us his expert tips for creating great-looking spacecraft and backgrounds...
With the release of Prometheus this month, we couldn’t believe the talent and skill that had gone into creating the mind blowing digital effects. We’re sure many of you have been inspired to get your teeth into some spacey art so here, digital artist Rory McLeish gives us his expert tips for creating great-looking spacecraft and backgrounds.
Rory McLeish unleashed
I concentrate primarily on creature and character concept design now, but my association with spaceships and sci-fi image production goes back a long way.
It goes all the way back to my art school student days when I first picked up an airbrush in an attempt to emulate the work of the people that were my influences at the time: science fiction book cover artists such as Chris Foss, Jim Burns and Tim White.
I made the switch to digital art around 15 years ago, influenced in part by the groundbreaking CG spacecraft work of Ron Thornton's Foundation Imaging Company in its contribution to the TV series, Babylon 5.
Software resources and computing power were fairly limited back then (not to mention very expensive), but these days the sky's the limit. If you can imagine it, and better yet sketch it down on paper, then you can build, texture, light, animate and render it all inside an affordable 3D software application running on a single home desktop computer.
I've been lucky enough to have worked with some very talented people in both games and visual effects who have helped me become a better and more efficient digital artist, and some of the information in this article is a direct result of that industry experience.
I hope you'll find something here that will help you in your own spaceship and sci-fi vehicle CG image production.
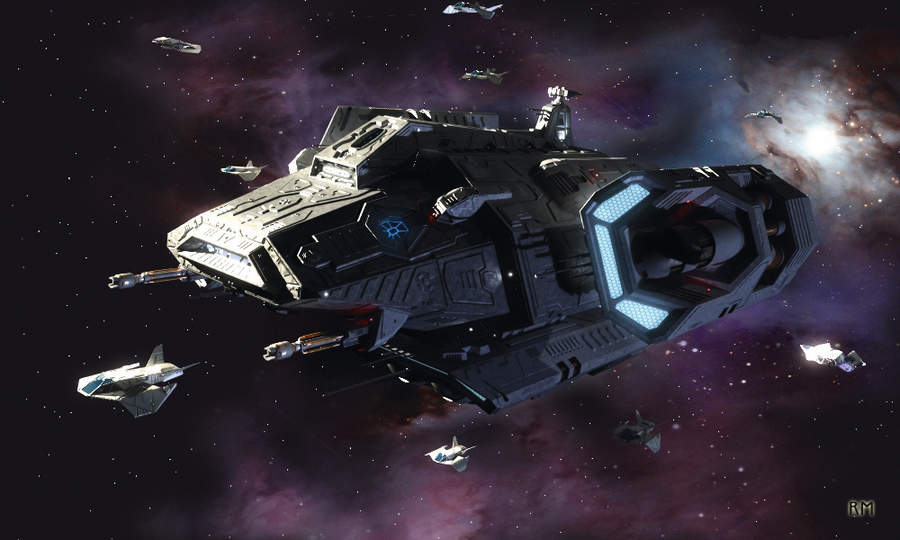
1. Experiment to establish scale
It's relatively easy to indicate scale on a large vehicle such as a starliner by modelling or texture painting rows of tiny windows. However, when you're dealing with a smaller object that's still fairly big, things can get a little trickier.
Sometimes rows and rows of windows don't look right on a medium size spacecraft so another technique is needed here to establish scale.
I'll often approach a model in the medium size range by including a control room featuring one large or several smaller windows.
If this area is populated with low resolution props and the interior is lit, it can often sell the model at the kind of scale you'll need for the finished image.
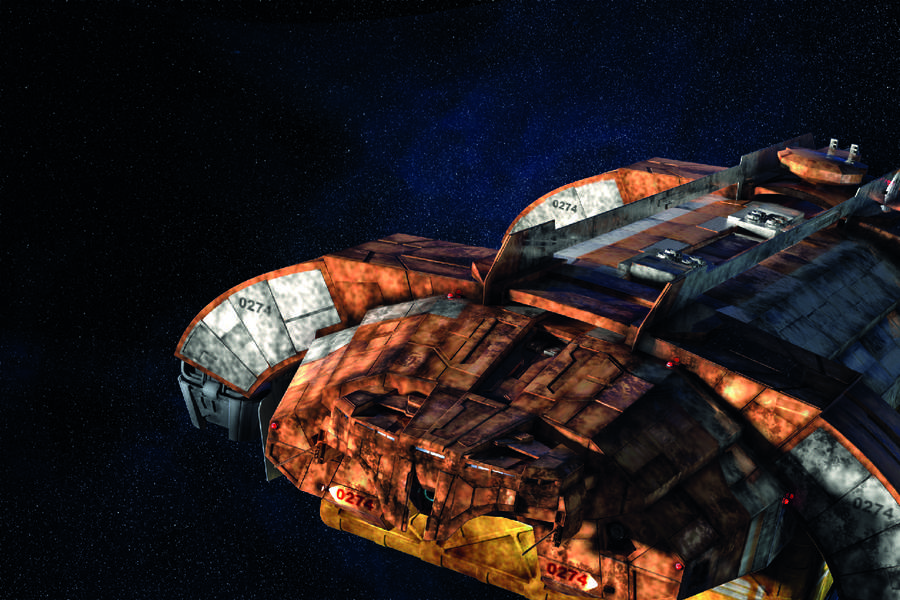
2. Create custom starfields
Here's a simple technique to help you generate your own unique starfields. In Photoshop, click File > New and pick the image resolution you need (double the size you require so you get more detail).
Use the Paint Bucket Tool and fill the layer with black. Go to Filter > Noise > Add Noise, put the Amount at 400% and enable Gaussian and Monochromatic. Select Filter > Blur > Gaussian Blur and pick a Radius between 0.4 and 0.8 pixels.
Go to Image > Adjustments > Threshold and move the slider to the right until you get the exact starfield effect you desire. Gaussian Blur this layer around 0.5 pixels.
In the Layers Palette, right-click the layer and choose Duplicate Layer > OK. Blur this layer to suit your needs, and choose Linear Dodge (Add) in the Blending Mode on the Layers Palette.
Repeat this process for all the layers you need, then move the Opacity slider on all but the lowest layer to increase the depth of the final image.
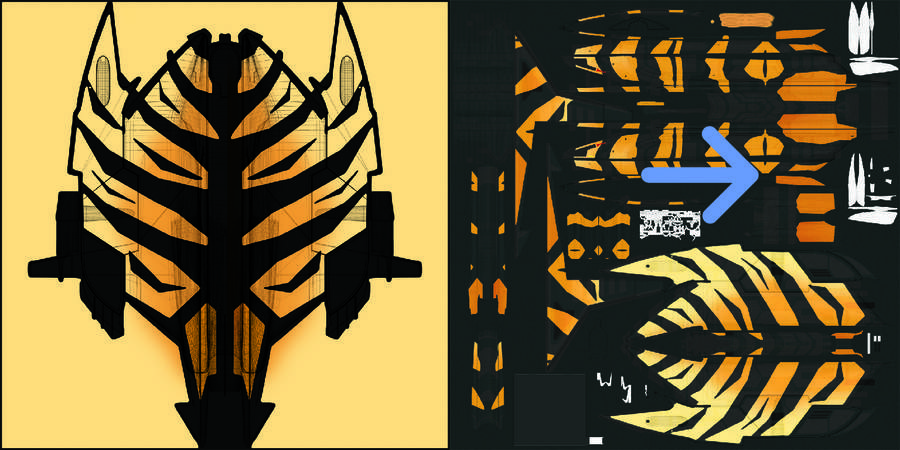
3. Bake out difficult texture maps
After a model has been UV unwrapped and spread out in UV space to maximise the texture area, the accurate painting of a large patterned texture - stylised tiger stripes, for example - can become fairly demanding and time-consuming.
A great workaround is using texture baking, which is supported by most 3D applications. Create an initial UV map and unwrap the model as usual.
Create another UV map and project the entire model onto a simple UV layout through the Y axis (top to bottom), then paint the texture here.
Choose Bake From Texture or the equivalent in your software. Ensure to bake from the simple UV map to the unwrapped UV map. This should transfer all the texture information to your main unwrapped UV map, saving you much time and effort.
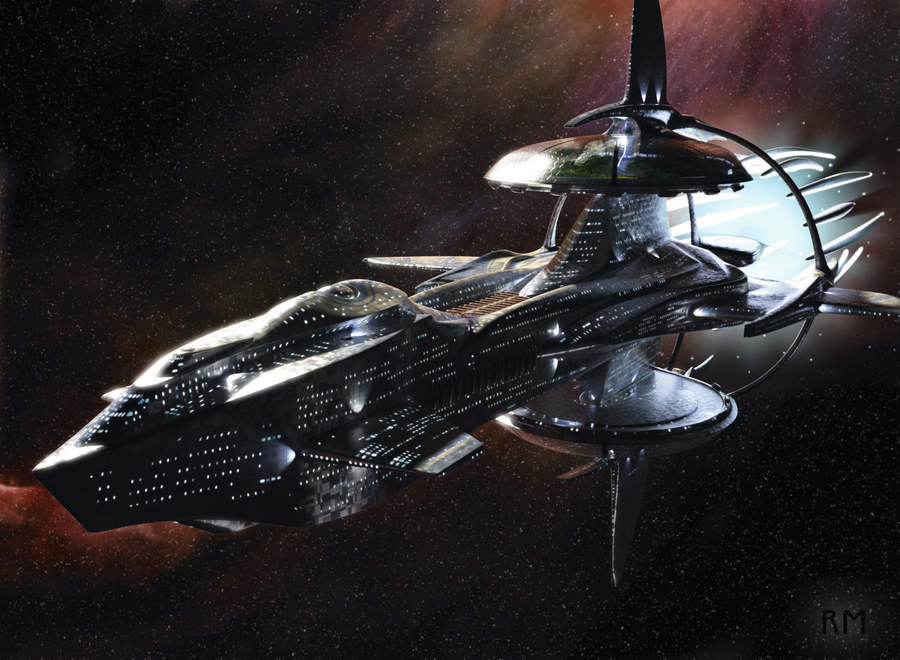
4. Effective deep space lighting
Lighting an object that's supposed to be travelling through deep space has its own set of challenges. Typically, there should only be one bright key light and very little fill available, making it a fairly difficult task to light a large and complex form.
There are several things you can do to assist, however. We can, for example, have the ship light itself in a Star Trek style by placing several bright spotlights on key areas of the ship.
Use reflection maps to carefully fill the dark side of the ship with reflected light. Also, silhouette the spaceship profile using a background nebula in addition to a bright starfield.
5. Generate motion blur in Photoshop
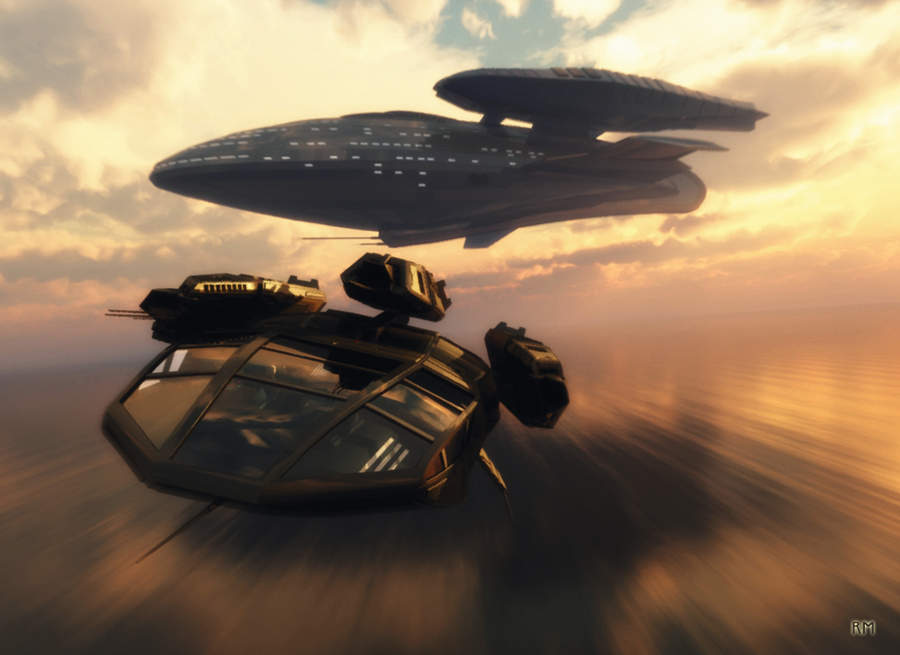
High-resolution CG images used as backgrounds can take a considerable amount time to render depending on their size and complexity.
This issue is often compounded when using motion blur in the render. So instead, apply the motion blur filter in a duplicate Photoshop layer and manipulate this layer over the original render as required for the final image.
Open the render in Photoshop. Right-click the original layer and select Duplicate Layer > OK. Select the top layer, go to the main menu and click Filter > Blur > Motion Blur, click the wheel control to choose the angle of blur you need, and set the amount.
Click the Add Layer Mask icon at the bottom of the Layers Palette. Now, choose a large, soft-edged brush, set the Opacity to around 20%, and erase the motion blur effect from the background to the foreground.

6. Construct textures from bump maps
I always start spacecraft texturing with the bump maps first. Bump maps usually denote panels, and these panels will give a good visual indication of how the vehicle is constructed. Wear and tear on the panels will also dictate how the ship will be weathered and dirtied.
Once the bump maps have been established, the tonal greyscale information they provide can also be used to add a panelling pattern to the colour maps.
A diffuse map can also be generated from the bump map, and this will give a base for dirt and weathering.
Using Photoshop, we can build up a layer list in the Layers Palette, and use these maps in a variety of ways to add or subtract tonal information, and ultimately, to create a complex-looking surface.
7. Combine applications for epic renders
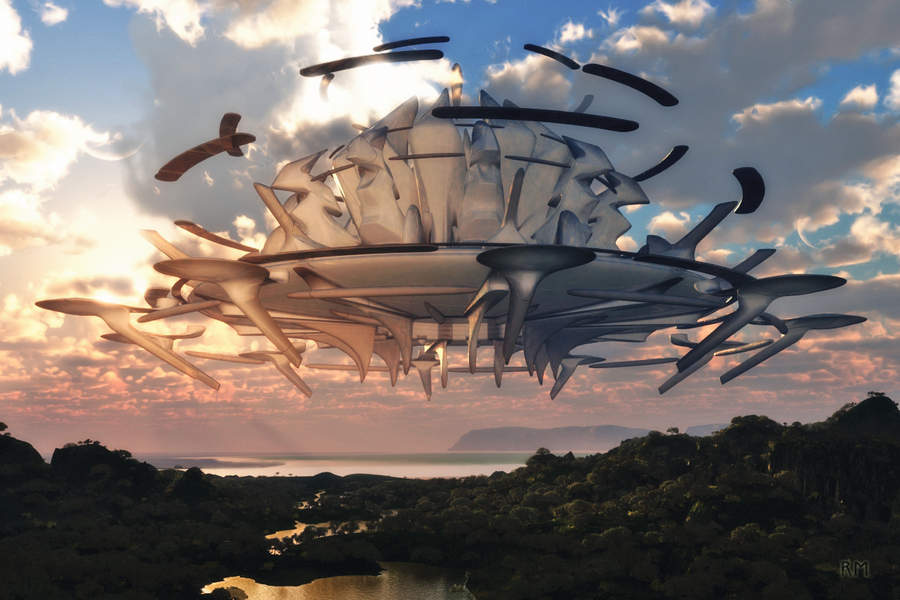
Creating cool sci-fi spaceship images can be undertaken using a single 3D application, but I often find that creating an image with a really epic feel means having to use several software packages to get the results I'm after.
Most 3D software packages nowadays can share certain files such as the .obj geometry format, which means you can swap and share meshes containing UV information freely between 3D applications such as LightWave 3D, modo, 3ds Max, Vue and so on.
If you hit a creative block using a particular 3D package while attempting to create an image, export the geometry you've already created and try a fresh start in a completely different program.
8. Enhance specularity using bloom effects
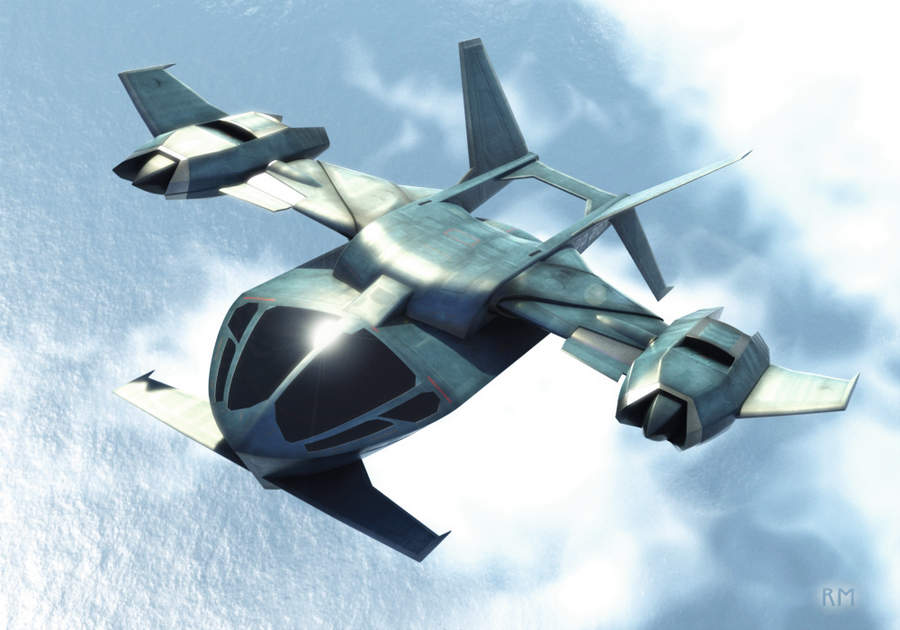
Render a specularity pass and use this to enhance the specular kicks in the render. Blurring the specular pass and comping it over the main render gives a cool photographic bloom effect.
This is ideal for imitating the brightness seen in actual spacecraft images.
9. Match lenses as well as cameras
If you render a separate background from a different 3D application, remember to match the camera lens as well as the camera position. Beginners often overlook matching correct lens sizes, usually to the detriment of the final image.
10. Split big scenes
Massive scale space scenes can quickly become clunky and unmanageable because of the large number of polygons and image maps filling up the available memory.
Splitting large space scenes into several smaller scenes means you can work freely and more efficiently.
11. Use low-res objects for composition
Low-resolution geometry is quick to build and easy to manipulate. Using proxy objects to lay out your scene not only helps you balance and compose the shot quickly, but it can also help you light the models effectively.
12. Build only what you can see
Once you've composed your shot, begin building the high-res models, taking care to build only the geometry you need.
If you're working on something large and complex, you'll save a lot of modelling, UV editing and texturing time by creating only what the camera will see.
13. Finishing touches
Go easy on bump map amplitude. Beginners often go over the top with bump maps, and less is often more.
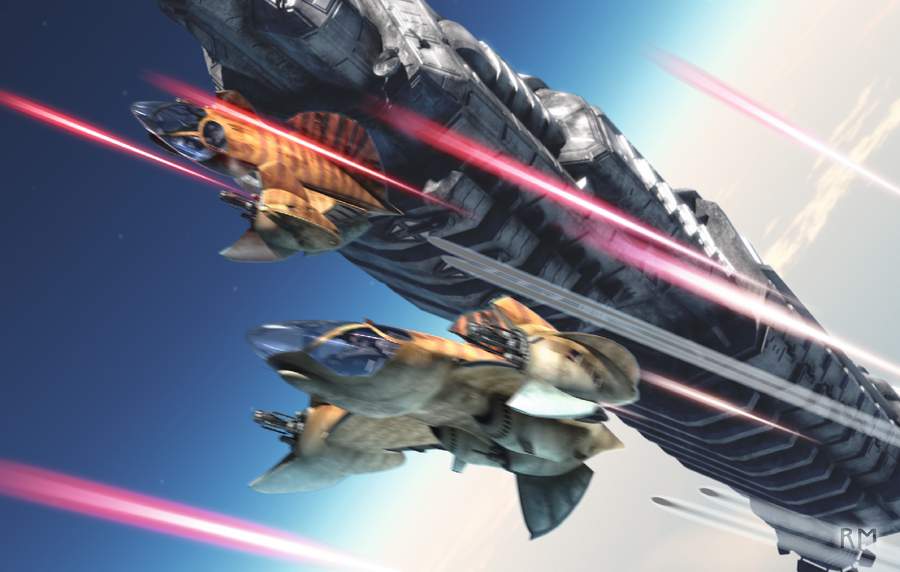
Create geometry if you need deep panels. Extreme motion blur is great for blaster effects, which can be rendered out in a separate pass and blurred for a glow effect in Photoshop.
Parent a light to the blaster bolts and these will illuminate the objects around them; use fog to represent atmospheric depth. This is a great way to establish scale for really large ships near a planet surface.
Design functionality into your concept, such as weapon mounts that look like they can rotate into another position. This will help lend credibility to your design. Finally, ensure to clean up your mesh if it's been frozen from subdivision geometry.
Let us know your thoughts in the comments box below!

Thank you for reading 5 articles this month* Join now for unlimited access
Enjoy your first month for just £1 / $1 / €1
*Read 5 free articles per month without a subscription

Join now for unlimited access
Try first month for just £1 / $1 / €1
Get the Creative Bloq Newsletter
Daily design news, reviews, how-tos and more, as picked by the editors.

The Creative Bloq team is made up of a group of art and design enthusiasts, and has changed and evolved since Creative Bloq began back in 2012. The current website team consists of eight full-time members of staff: Editor Georgia Coggan, Deputy Editor Rosie Hilder, Ecommerce Editor Beren Neale, Senior News Editor Daniel Piper, Editor, Digital Art and 3D Ian Dean, Tech Reviews Editor Erlingur Einarsson, Ecommerce Writer Beth Nicholls and Staff Writer Natalie Fear, as well as a roster of freelancers from around the world. The ImagineFX magazine team also pitch in, ensuring that content from leading digital art publication ImagineFX is represented on Creative Bloq.
