How to prepare a model for 3D printing
Laurie Berenhause explores some simple ways in which you can ensure your 3D prints stand tall, stand firm and cost less to make.
3D printing can be a frustrating business. You've stroked and sculptured your character to on-screen perfection yet, somehow, your character crumbles when you try and print it.
As you read on, we'll explore some simple techniques that will help you tweak your models for successful 3D printing.
01. Design for your material
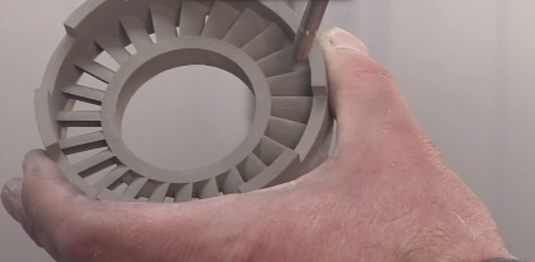
In animation software, your model exists in a world without gravity or physics. For your model to exist in a physical space, you’ll need to keep the material’s characteristics in mind, such as tolerances and uses.
For example, if you want to print in colour Shapeways offers a Full Colour Sandstone material, if printing prototypes with interlocking parts you’ll need a strong nylon material and for hand-painting models a grained material is best, such as Shapeway’s Frosted Plastic. You can now even print jewellery in gold.
02. Weight Distribution
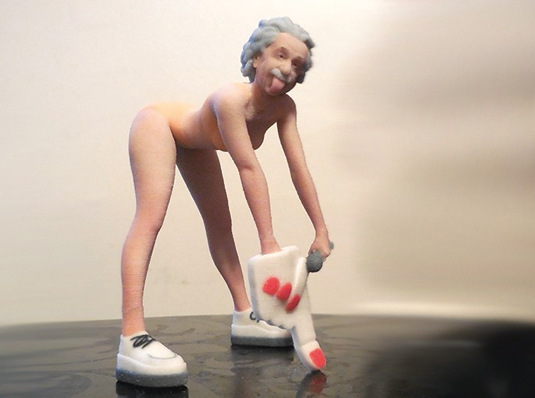
Take the time to review how your model’s weight will be distributed. If you want your model to stand by itself and not topple over, make sure the bottom of your model has a strong grounding. Maybe your model needs a base, thicker legs or multiple points of contact on the ground to hold it up.
03. Think about size
Size your model to fit your needs and the printers. When you see Maximum Bounding Box in a Material Design Guideline, that is how large a model can be printed in the given material.
Size is especially important for prints that fit together (like puzzles) or are worn (like rings). Because of casting, certain materials – such as brass, bronze, silver and steel – can shrink in production. Ceramic prints shrink about three per cent when fired and expand when glazed.
04. Making your mesh watertight
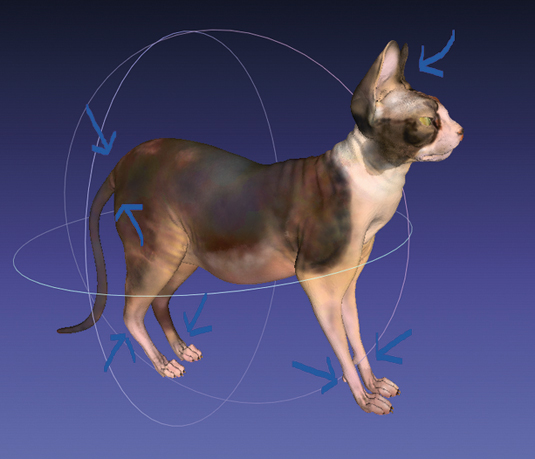
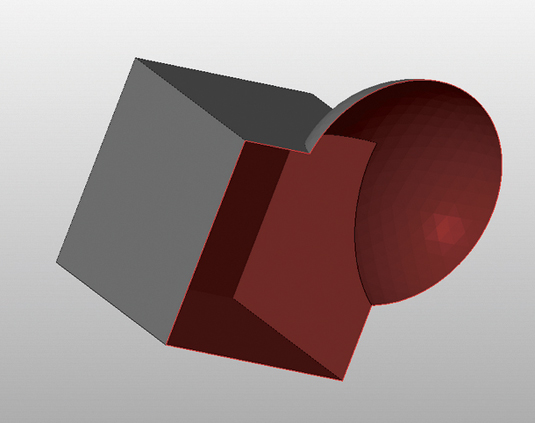
A watertight mesh is achieved by having closed edges, creating a solid volume. If you were to fill your model with water, would anything leak out? Check your normals and make sure they all face outward (any flipped normals will be read as holes by the printer). You may have to clean up any internal geometry that could have been left behind accidentally from booleans.
05. Thicken vulnerable areas
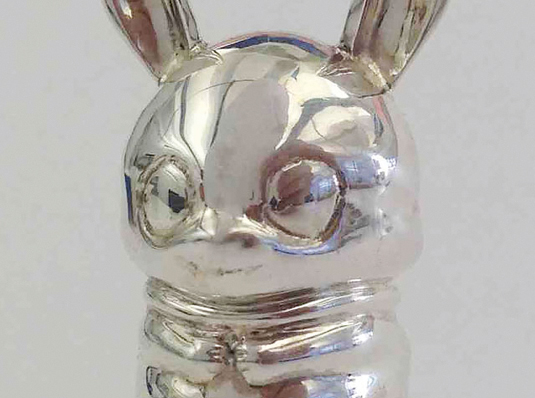
Outstretched appendages from the core of your model might snap off during or after printing, if the point of contact or joint is too thin. In 3D printing, these appendages can sometimes be referred to as wires.
During the production process, some materials are very delicate. You might need to reconsider the pose of your character in order to bring appendages back to the core to create supported wires over free wires. This will add to the strength of your model.
06. Escape Holes
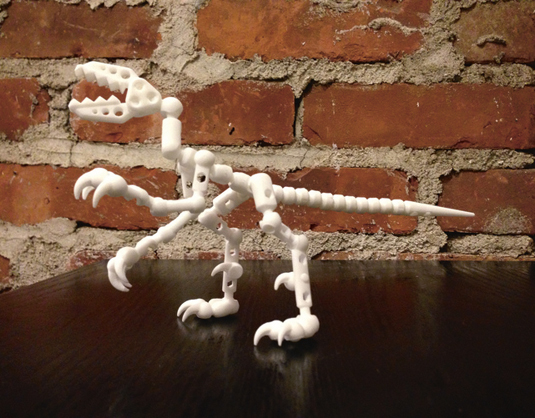
The price to print your model is mostly based on the volume of material used. Hollowing out your 3D model can help you save on the expense of your print. When printing your model is created in a tray full of support material, such as plastic nylon powder or wax.
It is best to have an escape hole so the excess material can be removed. This is especially necessary for models that are dyed because if excess powder is trapped inside your model, the model will not dye evenly. It is important that the escape holes are large enough for the support material to escape.
If the support material cannot all be removed at first, it may leak out during the dying process, contaminating the dye and ruining the batch.
07. Design for your material
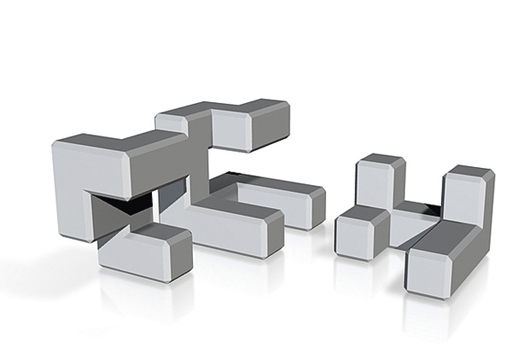
3D printing uniquely allows for creation of intricate, interlocking, movable pieces without assembly. The level of intricacy and detail that industrial 3D printers can produce is unparalleled.
We encourage you to experiment with different types of joints and mechanisms so that your finished print can have moveable parts. If you are creating separate or interlocking parts, make sure there is a large enough distance between tight areas.
08. Remove smoothing modifiers
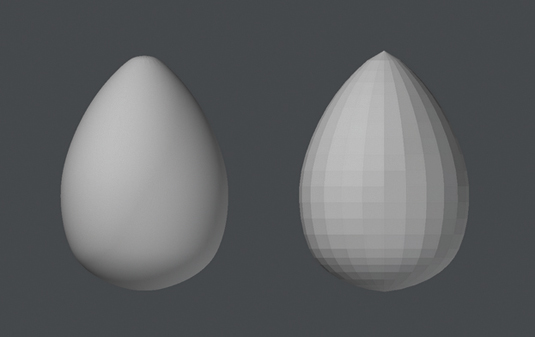
When modelling, to create a high-poly feel with a low poly count, you typically use a smoothing modifier for faster render time. Each package has a different name for this setting: Maya has Nurbs, 3ds Max has Curves and Lightwave has SubDs.
3D printers do not read smoothing modifiers though, so you need to remove them and raise your sub-division level to recreate the illusion smooth modifiers offer. Now your model has a higher resolution.
Words: Laurie Berenhaus
Laurie Berenhaus is a designer and educator with a focus on 3D design and printing. This article originally appeared in 3D World issue 183.

Thank you for reading 5 articles this month* Join now for unlimited access
Enjoy your first month for just £1 / $1 / €1
*Read 5 free articles per month without a subscription

Join now for unlimited access
Try first month for just £1 / $1 / €1
Get the Creative Bloq Newsletter
Daily design news, reviews, how-tos and more, as picked by the editors.

The Creative Bloq team is made up of a group of art and design enthusiasts, and has changed and evolved since Creative Bloq began back in 2012. The current website team consists of eight full-time members of staff: Editor Georgia Coggan, Deputy Editor Rosie Hilder, Ecommerce Editor Beren Neale, Senior News Editor Daniel Piper, Editor, Digital Art and 3D Ian Dean, Tech Reviews Editor Erlingur Einarsson, Ecommerce Writer Beth Nicholls and Staff Writer Natalie Fear, as well as a roster of freelancers from around the world. The ImagineFX magazine team also pitch in, ensuring that content from leading digital art publication ImagineFX is represented on Creative Bloq.
