How to optimise a model for 3D printing
3D World technical editor Rob Redman explains how to best prepare a 3D model before printing.
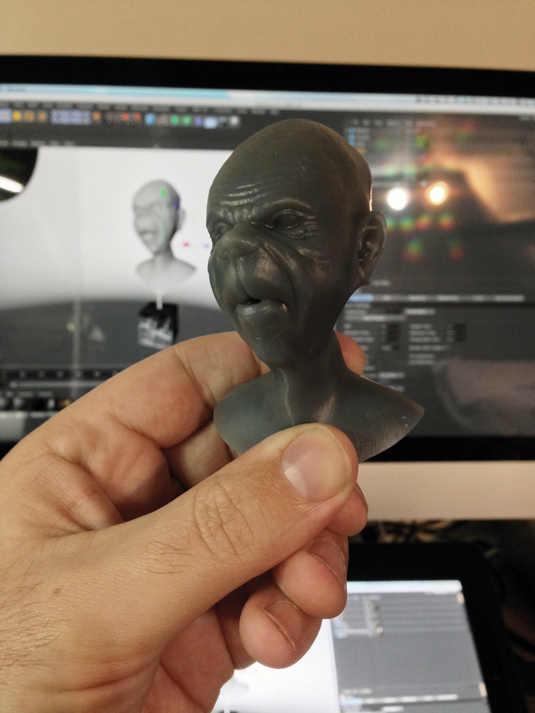
There is something very special about taking delivery of a model that at one time only existed in your computer. You can view a digital model from any angle, but nothing beats holding it in your hand.
Therefore it's important to consider how the majority of printing companies prefer to receive files. You can't usually just sculpt away, send a ZBrush file and expect it to come back as a 3D model - or even to be printable.
Some 3D printing companies will fix problems for you but that will inevitably incur fees, and besides it's better to fully understand the process and create a print-ready sculpt wherever possible. If the tech companies are to be believed we will all have 3D printers in our homes soon, and what use will they be if we don't know how to use them?
01. Base mesh
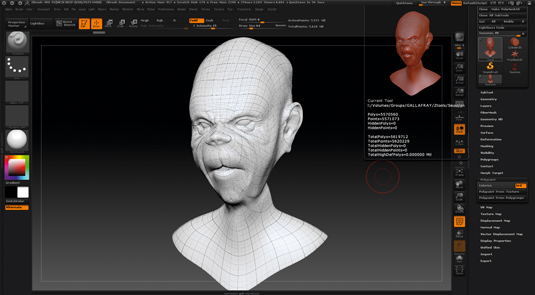
First, you will need to make sure that your model is manifold - this means that it should be 'watertight', with no holes. Polygons have no depth, so the thickness of an object is defined by the volume within a closed set of polygons. If there are gaps, your model will not print as the printer won't read it as a solid object.
This is an issue commonly associated with meshes imported from other applications, so before you export, or use GoZ, use your software’s bridging tools - such as Close Polygon Hole - to ensure there are no gaps.
02. ZRemesher
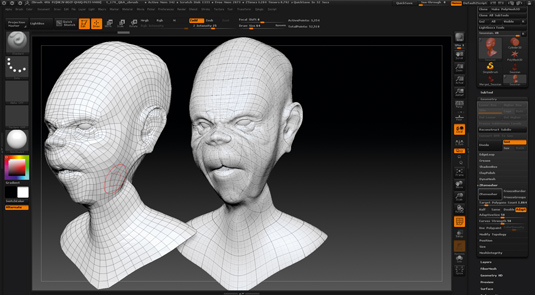
Once you have finalised your sculpt in ZBrush and ensured that the mesh is watertight, you can prepare it for print. There are two ways of doing this. If you are printing at a small size, or as a test of form rather than detail, you could use ZRemesher to significantly reduce the polygon count.
You may want to do this anyway for retopologising purposes (followed by projecting your details back on to the mesh). This method is quick, easy and creates the smallest file sizes but is not best suited to detailed models. However it is ideal if you need a quick print from a file that can be sent by email.
03. Decimation Master
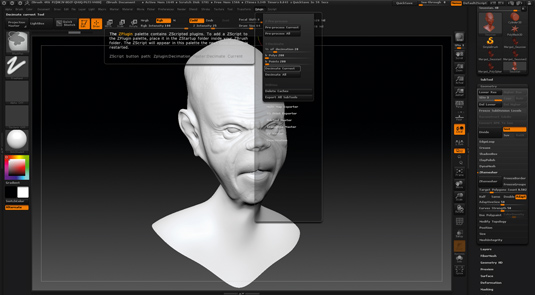
The second method - and the one I would recommend - is to use Decimation Master. This is a commonly used plug-in that works very well. Decimation Master can be found under your ZPlugins menu. It takes your high-res mesh then works its magic to produce a highly reduced polygon count while keeping levels of detail almost indistinguishable to the original.
It has a set of sliders that you use to tell it what percentage of the original polygon count you want to keep, and uses an algorithm to work out where to remove density but still retain detail. This is a powerful plug-in and is useful in many situations, not just for generating printable models.
One final note: most printers prefer to use .stl files, but you can export in this format using ZBrush's Export For Print dialogue, which also has options for sizing should you need them.
This article originally appeared in 3D World issue 179.

Thank you for reading 5 articles this month* Join now for unlimited access
Enjoy your first month for just £1 / $1 / €1
*Read 5 free articles per month without a subscription

Join now for unlimited access
Try first month for just £1 / $1 / €1
Get the Creative Bloq Newsletter
Daily design news, reviews, how-tos and more, as picked by the editors.

Rob Redman is the editor of ImagineFX magazines and former editor of 3D World magazine. Rob has a background in animation, visual effects, and photography.
