4 tips for creating a leather texture
This artist explains how he textures and look develops a leather material.
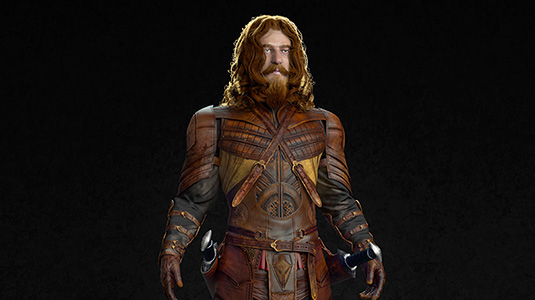
Hopefully as I explain my workflow and the techniques I used to finalise my warrior character, you should get a good idea about how to lookdev and texture a leather material. The warrior project was a personal project with the aim of practising and pushing myself and my workflow out of my comfort zone.
I intended to go beyond what I am used to do in my work to date, which is sticking to a limited number of maps and not going above a certain resolution for each map.
With this project I had a goal, which was to reach a maximum resolution without getting into the nightmare of blurred textures in a close-up camera situation. Thankfully I succeeded in doing so, however I had to paint almost 254 UV patches in 4K map size. That ended up totalling 1016 maps between Diffuse, Spec, Bump and Displacement maps.
From ZBrush I exported three sets of maps: 32bit Floating Displacement maps, Vector Displacement maps and Normal maps. I use Vector Displacement maps as they are more accurate and less hassle when it comes to setting up. They're also faster when exporting from ZBrush.
The other types of Displacement maps are used in conjunction with Bump maps, in order to give extra accent to the details. Normal maps are used to guide me through the texturing process. In addition to this, I also use AO maps as these are very efficient and also help guide me through the process, as well as adding extra dimension to flat textures.
During this project I had to tackle the process of building a solid leather texture and shader that would form the majority of this character's costume (almost 90 per cent). Using Arnold as my main render engine led me to investigate further the leather material properties (Diffuse, Roughness, Specular, and so forth).
01. Gather your references
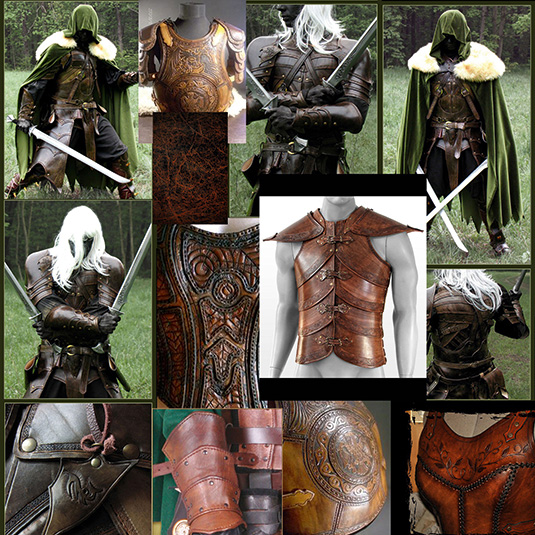
Gathering references is very important as it gives you an idea of what type of material you are going for and also what the properties of this material are – for example fabric, leather, metal, and so forth. In this case, I am going for a worn and old looking leather that has been used before and therefore has some imperfections to it.
02. Build the diffuse layer
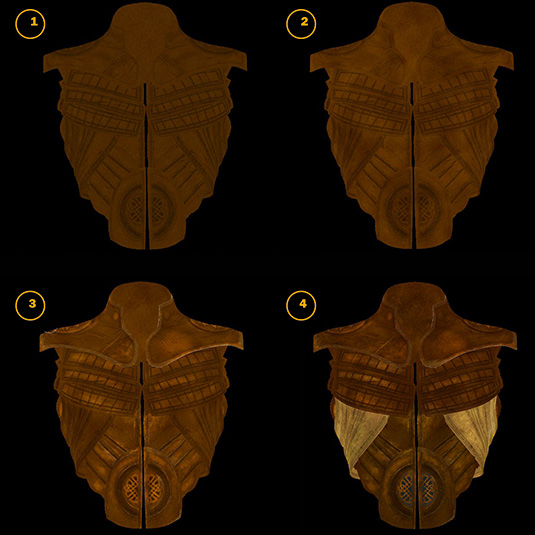
After finding the references and source materials it is time to start building the main component, which is the diffuse layer. In order to achieve a rich looking leather material you need to layer different source materials together. In this case I used a tileable leather texture as a base, then I started to hand paint layers on top of it from different sources.
03. Build the spec component
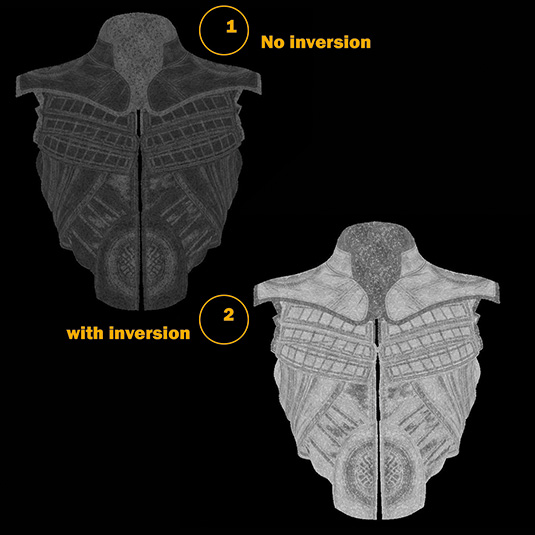
Now it's time to build the spec component, which is very important, but in leather cases is tricky. You need to look for where the direction of the grains and cracks are when building the spec maps; they will play a very important role with the shader. Don't just desaturate the diffuse component. If needed, desaturate and invert so you get the correct result.
04. Use Arnold shader
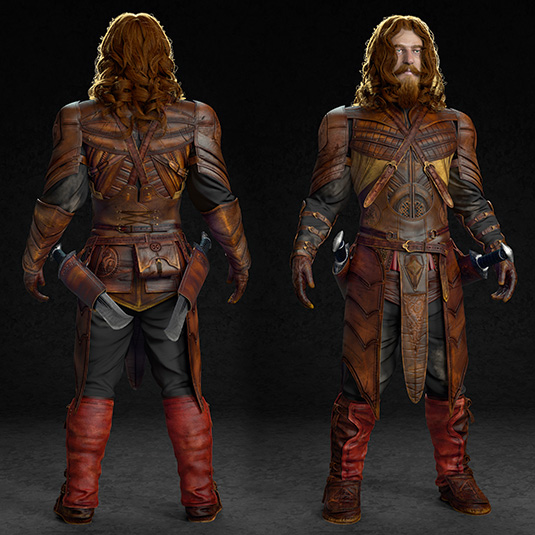
Working with Arnold shader is very straightforward. You need to know some key points, like the diffuse weight of the different material types and the spec colour and weight contributions of these materials – whether they are dielectric material or non-dielectric material. In the leather case, it's a dielectric material which means it has a non-white specular colour and low fresnel contribution.
This article was originally published in 3D World magazine issue 206. Buy it here.

Thank you for reading 5 articles this month* Join now for unlimited access
Enjoy your first month for just £1 / $1 / €1
*Read 5 free articles per month without a subscription

Join now for unlimited access
Try first month for just £1 / $1 / €1
Get the Creative Bloq Newsletter
Daily design news, reviews, how-tos and more, as picked by the editors.
