How to get more from GIFs
Top tips from Rebecca Mock’s ICON9 workshop, which explored the creation of animated GIFs ready for the web.

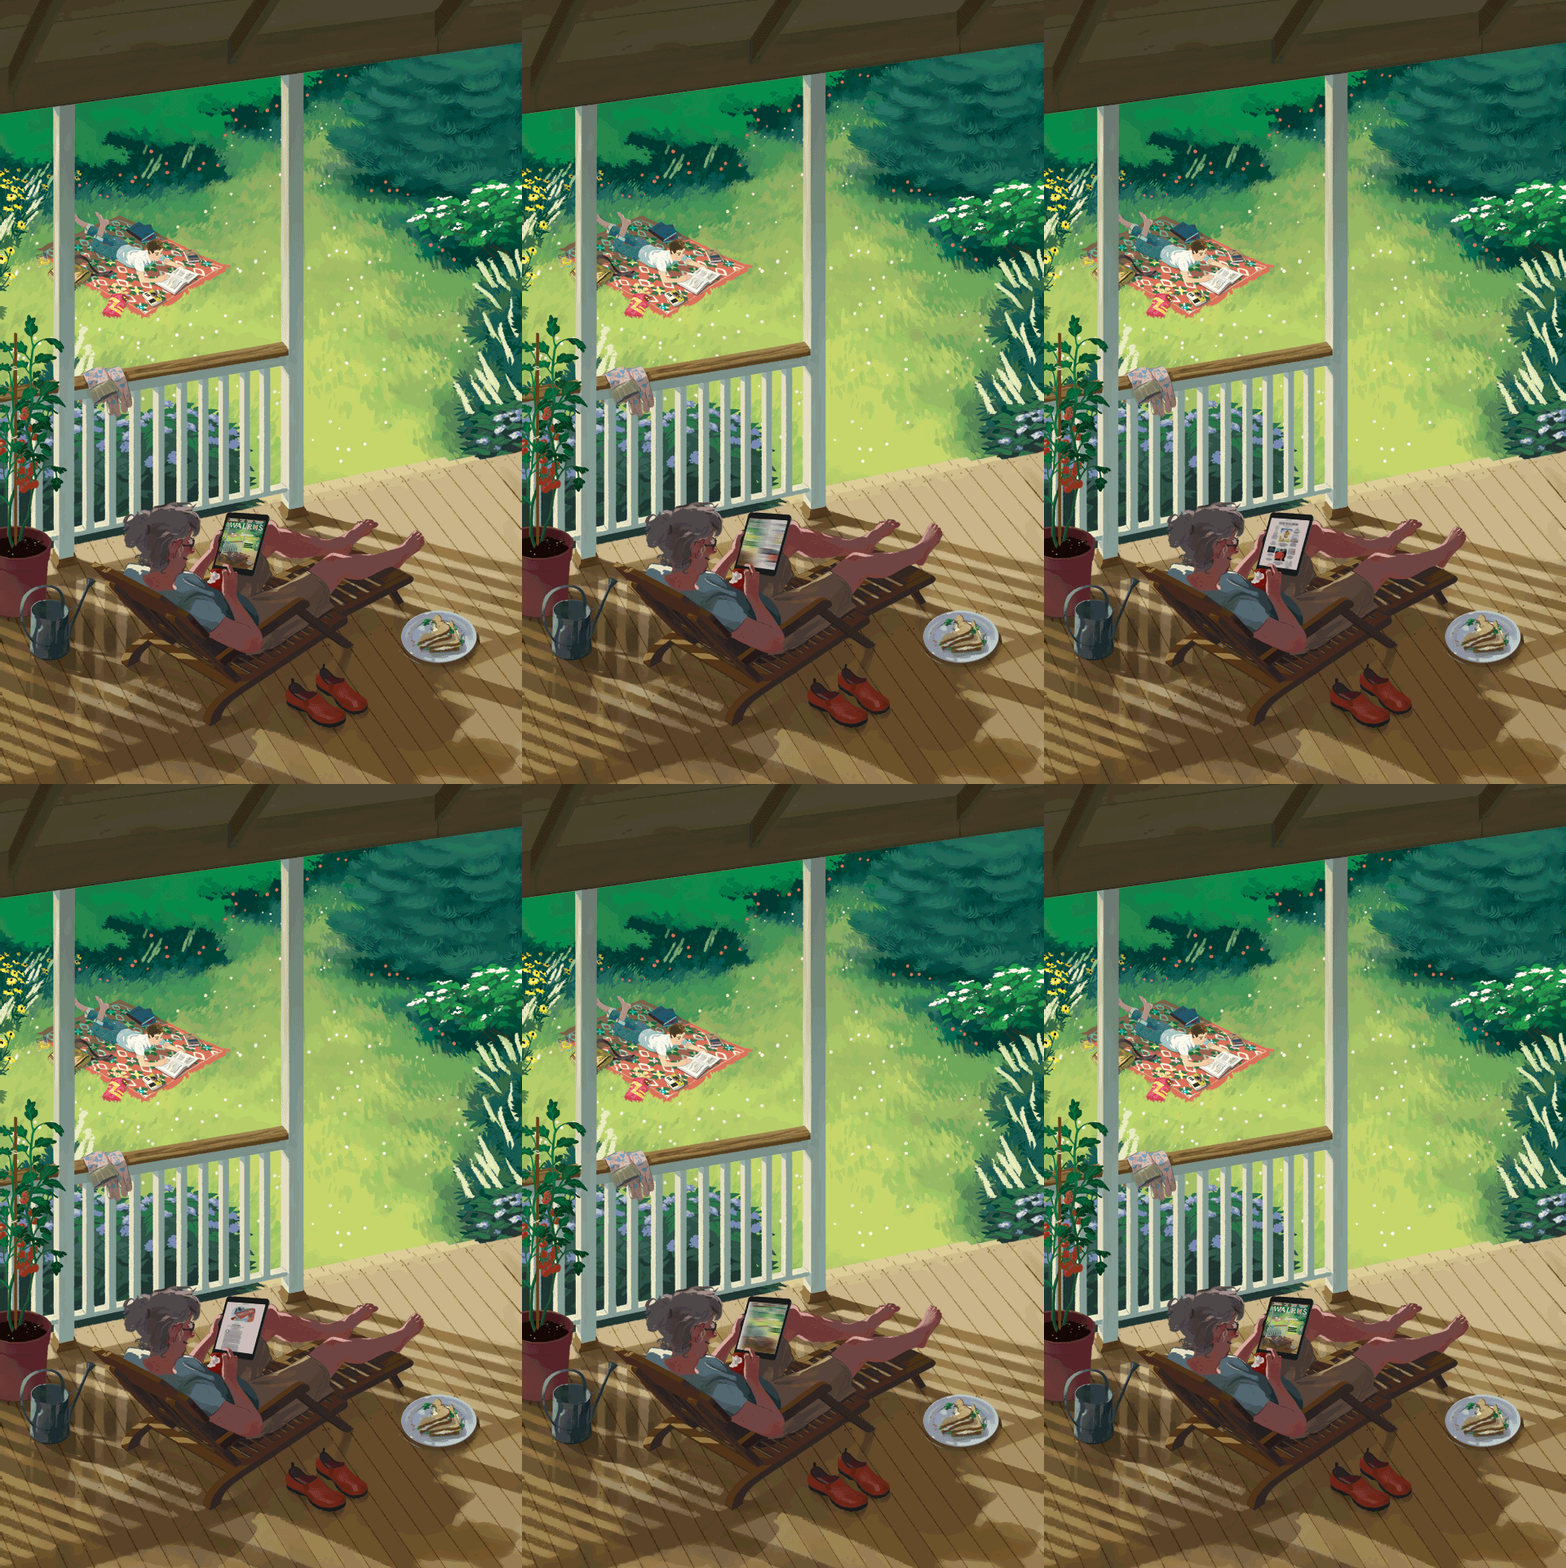
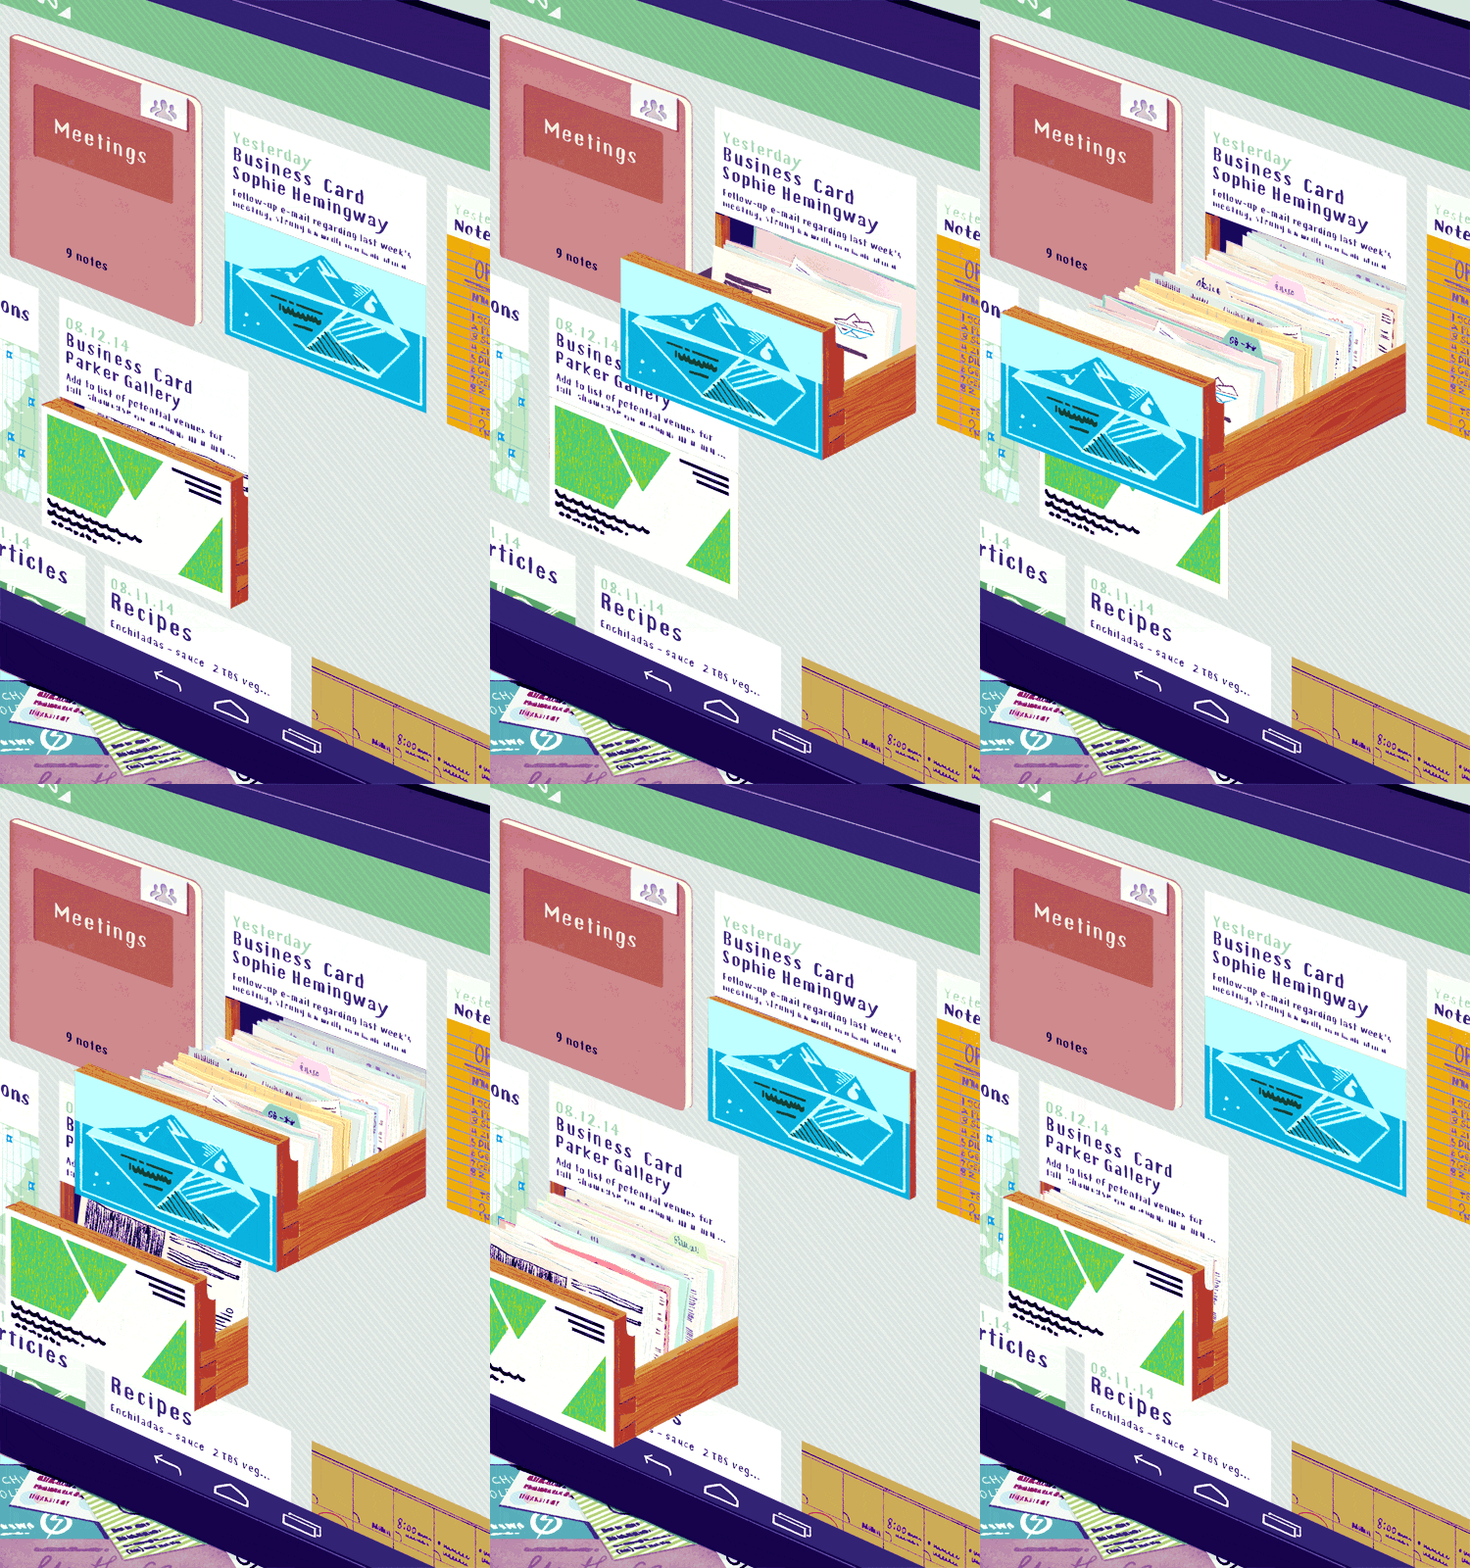
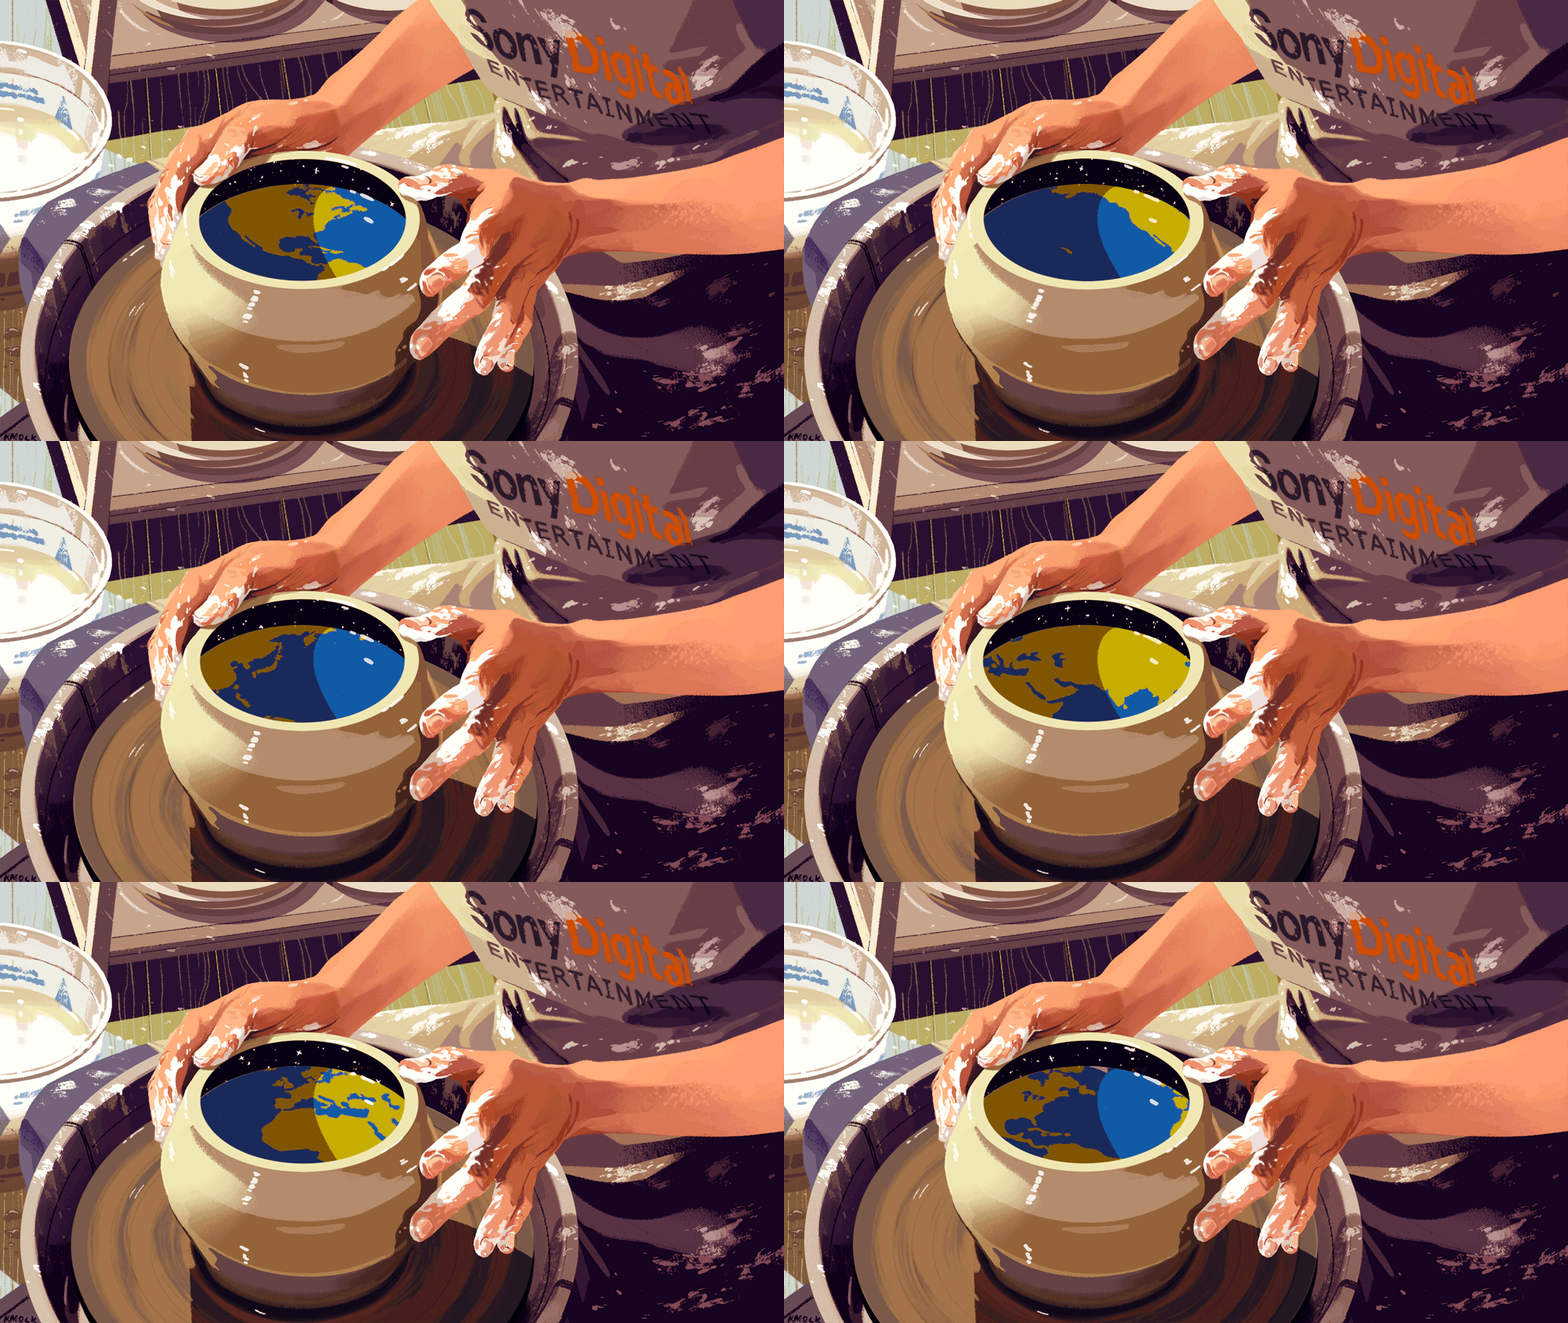
GIFs work in seamless cycles, which Rebecca Mock describes as 'the perfect loop'. This loop should ideally erase the first and last frame, so that any frame could be the first. When crafting your own GIF, make looping a priority – it causes less distraction to the viewer and adds mesmerising, visual interest. Mock also suggests adding an extra frame: "Let the pause last just a bit longer,” she says. “The space between two actions can imply a lot."

Basic techniques
The basics of movement can be expanded and built into complex animations. As you begin creating your image in Photoshop CC, be sure to keep it organised. Work in layers and animate each piece separately. That way, if you've got to change one element later, it's easy to isolate it without having to undo the rest of your hard work.
Positioning can be done manually or by setting start and end points and letting Photoshop do the work – it all depends on what kind of movement you want your GIF to have. Using your cursor and dragging the object frame by frame will produce an irregular path. Tweening – generating intermediate frames between two images – will give it a steady movement.

01. Timelines and frames

02. Select a frame

03. Start the effect

04. Copy and paste

05. Layer mask

06. Rotate the shape

07. Save
Mock likes to use the flicker/fading effect for steam rising and flames. To create it, draw a straight line using a rough brush. Add a Layer Mask (such as a flame) so that part of it is obscured. Then, make a clean loop using a pattern-making method – cut your line in half and move its rough bottom edge to the top of its line, filling in the middle and overlapping the Layer Mask. Use the Tween command to make sure the line moves vertically at a consistent speed. At this point, the loops should be seamless.
The spinning and rotating motion is created with tiny, incremental turns of an object. Make an irregularly-shaped circle and move it in 16 to 24 steps until you have a full turn; hold down the Shift key to rotate it in 15-degree increments.

Exporting your work
Exporting your GIF may be the final step, but it's something you should be thinking about throughout your process. The more pixels that move, the larger the file size will be, and ideally, you want a GIF that is under 1MB. GIF files are limited to using 256 colours, and things like heavy textures and gradients don't compress well – you're better off with flat colours and sharp edges, which will keep files manageable and easy to upload on the web.
This article originally appeared in Computer Arts issue 259; buy it here!
Get the Creative Bloq Newsletter
Daily design news, reviews, how-tos and more, as picked by the editors.

Thank you for reading 5 articles this month* Join now for unlimited access
Enjoy your first month for just £1 / $1 / €1
*Read 5 free articles per month without a subscription

Join now for unlimited access
Try first month for just £1 / $1 / €1


