Facebook privacy settings: How to keep your profile private
Worried about oversharing? Here’s our complete guide to Facebook privacy settings.

Facebook privacy settings may seem like a bit of a paradox. Facebook isn't exactly well-known for protecting its users’ privacy. The company seems to hop from privacy scandal to privacy scandal, with constant revelations appearing about the latest instance of it misusing user data.
But that’s not the only reason why it’s a good idea to get on top of your Facebook privacy settings. If you don’t want the world and their dog browsing freely through your photos, you’ll want to tweak a few options. If you have a public or business profile and then a separate private one, you'll also want to make sure you keep your personal profile as private as possible.
Unfortunately, Facebook doesn’t make it easy, with settings scattered all over the place. That’s where this guide comes in – follow our tips and you’ll be able to pry control away from Facebook’s grabbing tentacles.
For more social media tips for creatives, see our guide to how to change the font in your Instagram bio and the best social media platforms for artists and designers.
Click in the top-right corner of each image to enlarge it.
01. Change your basic Facebook settings

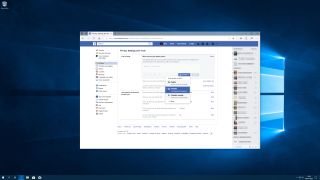
A lot of your Facebook content is publicly available to anyone, even people not on your friends list. If that’s not something you want, click the downward arrow on the right of Facebook’s top menu bar, then click Settings. Head to the Privacy section. Here you can adjust who can see your future and past posts, whether you appear in search engines, who can add you as a friend, and more.
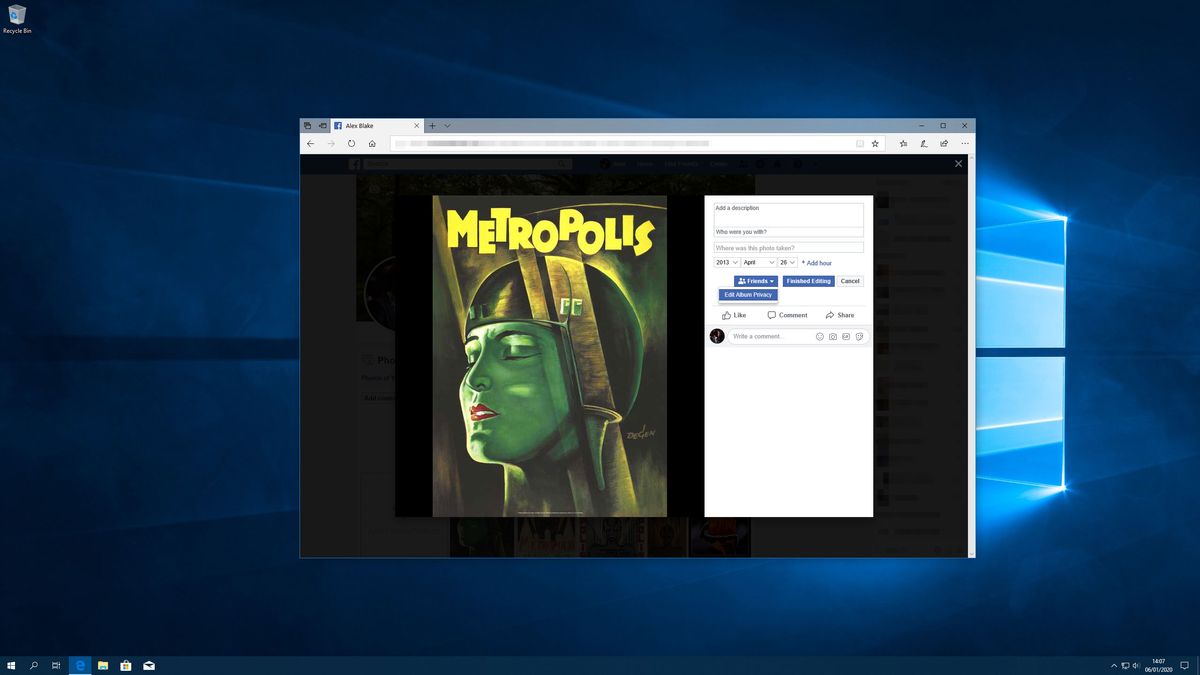
If you want to restrict who can see your photos, it’s a little more involved. Go to your profile, click Photos > Albums, then click the album you want to adjust. Click Edit, then under Privacy, choose who can see it. To do this for individual photos, go to the Your Photos section, click a picture, then click Edit and choose who it’s shared with.

Your Facebook About section can also reveal a lot about you, such as the city where you live, your contact info and relationship status. If you’d rather not have this information displayed to any and all who stumble upon your profile, you should restrict it.
To do so, head to your profile, then click About underneath your cover photo. Select a section in the left-hand panel (for example, 'Places you’ve lived'), then hover your pointer over the info you want to adjust. Click the Edit button, then use the audience selector to choose who can see it. When you’re done, click Save Changes.
Note that some information, such as your name, profile picture and username, is always public and can’t be hidden.
02. How to adjust Facebook privacy settings for individual posts

When you make a post on Facebook, you can choose who should be able to see it. Underneath the options for tagging friends, attaching photos and setting an activity, there are two toggles: News Feed and Your story. Each has a dropdown menu on the right allowing you to choose who will see the post.
Three options are displayed by default: 'Public', 'Friends' and 'Friends except…', the latter of which allows you to exclude certain friends from seeing your post. If you click 'More…' you get options to share the post with a handful of specific friends, or to only allow yourself to see it.
It doesn’t end there, though. At the bottom of this list of options is a 'See all' button; click this and you can set custom rules for your post. This gives you the most control over your post, allowing you to include certain people and lists, exclude others, and choose whether friends of tagged people can see it too. It’s buried pretty deep, but it’s the option to go for if you want the most control.

To make your choice the default for posts going forward, click Privacy in Facebook’s settings, then Edit next to 'Who can see your future posts?' and choose an option.
You can also change sharing options for posts after you’ve posted them. Just find the post, then click the audience button next to the date and time info. You get all the same options as when you create a new post. Note that if you shared something on a friend’s timeline, it’s governed by their sharing settings, not yours.
03. Use Facebook lists for more control

Sometimes, you just want to share something with a specific group of friends. While you could select individual friends one by one, it’s much easier to create a list and share directly with those people. This also protects your privacy by not oversharing with people who are not the intended audience.
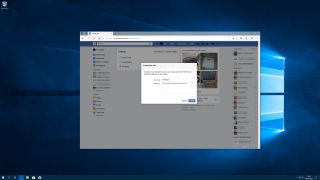
Helpfully, Facebook creates a few lists for you. From your home page, click 'Friend lists' in the Explore section on the left-hand side (it may be hidden under 'See more…'). You’ll see three lists: Close friends, Acquaintances and Restricted. Each starts empty, allowing you to add people as needed.
The Acquaintances list is for people you only share with occasionally, perhaps like your colleagues. When creating a post, you can choose to share with 'Friends except acquaintances' to exclude them. The Restricted list is for people you really don’t want to share everything with – like your boss – and these people will only see your public content and anything they’re tagged in.
If you want a bit more control, just click 'Create List' and start adding friends to a new custom list.
04. Extricate yourself from other people’s Facebook posts

If a friend has tagged you in a post or picture that you’d rather not be associated with, there are ways to remove your name from it. On a photo, hover over it and click Options, then click 'Remove tag'. On a post, click the … button in the top right, then click 'Remove tag'. This won’t delete the picture, just your name from it.
To do this for things before they’re posted on your page, turn on Timeline Review. Head to Facebook’s Settings section, then click 'Timeline and tagging' on the left; in the Review section, click Edit next to 'Review posts you're tagged in before the post appears on your timeline?'. Change this to Enabled. You can also use this section to review tags before they’re applied to you.
There’s a catch, though – Timeline Review can only control what appears on your own timeline, not in people’s News Feed or search results.
Read more:
- 5 tips for presenting your work on social media
- The ultimate guide to social media for creatives
- 8 best social media platforms for artists and designers
Get the Creative Bloq Newsletter
Daily design news, reviews, how-tos and more, as picked by the editors.

Thank you for reading 5 articles this month* Join now for unlimited access
Enjoy your first month for just £1 / $1 / €1
*Read 5 free articles per month without a subscription

Join now for unlimited access
Try first month for just £1 / $1 / €1
Alex Blake is a freelance tech journalist who writes for Creative Bloq, TechRadar, Digital Trends, and others. Before going freelance he was commissioning editor at MacFormat magazine, focusing on the world of Apple products. His interests include web design, typography, and video games.
